How to Get Deep Upholstery Stains Out of Cloth Seats
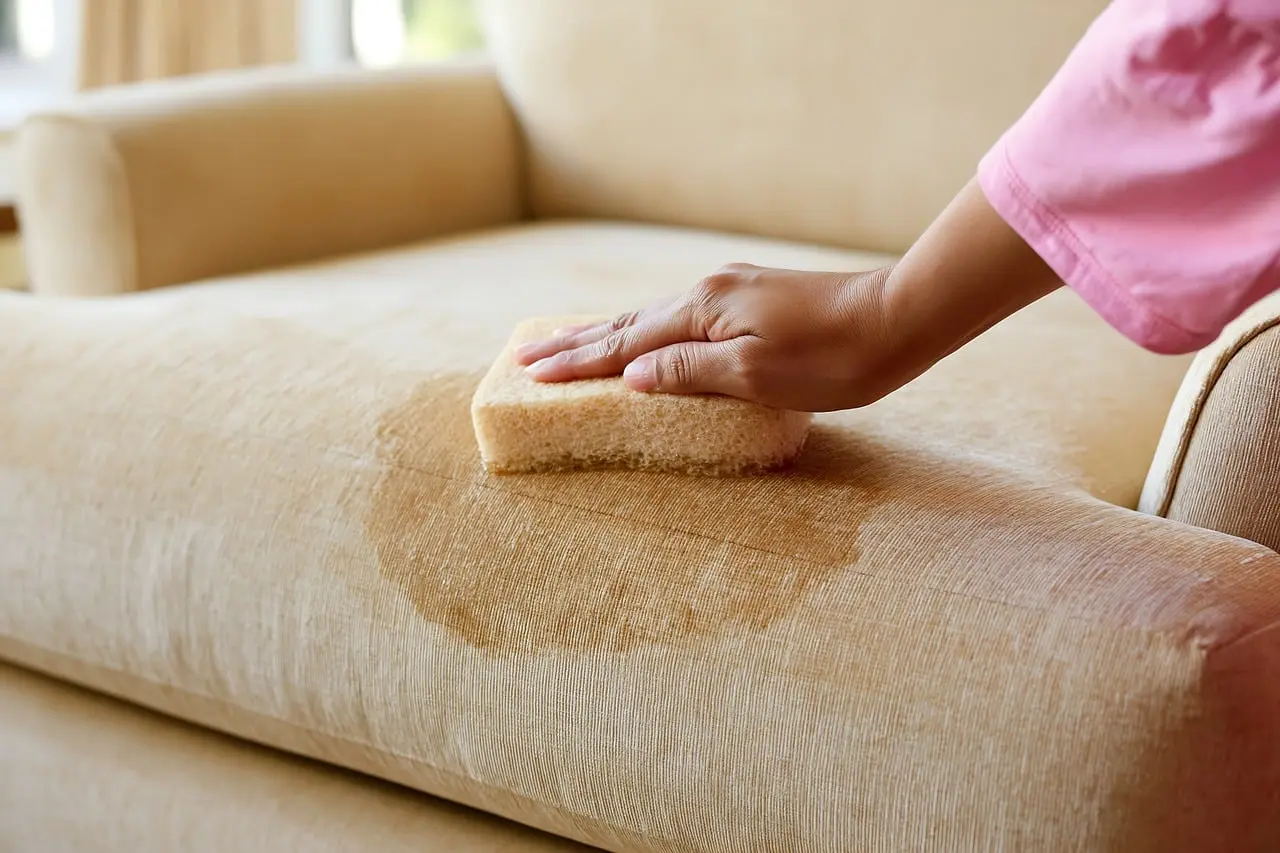
Treat deep cloth-seat stains by identifying the stain type first, then start with the least aggressive method; if a stain seems oily, dye-based, or still visible after a couple of gentle extraction passes, stop and switch methods. Wrong cleaning can spread the stain, set it deeper, or leave odor and water rings. This guide shows how to match stain type to safe cloth-seat cleaning steps and when DIY is no longer the right call.
What kind of stain are you actually dealing with?
Deep cloth-seat stains clean up best when you match the cleaner to the stain chemistry. Oil, protein, tannin, dirt, dye transfer, and water marks behave differently in cloth, and seat foam can hold residue long after the surface looks clean. One product rarely handles every stain well.
Oil-based stains
Grease, lotion, sunscreen, and food oils bond to fibers and often darken cloth rather than change color. A pH-neutral upholstery cleaner or a low-residue foam is a safer first step than strong solvent-heavy products. If the spot remains slick or translucent after blotting, you may need a second pass and extraction.
Protein-based stains
Sweat, blood, milk, and pet accidents need careful residue removal because heat may set them and odor can linger in the cushion. An oxygen-based stain remover is often a better fit for organic residue than a general-purpose spray. Use it only after a spot test, and remove it fully so the fabric does not re-soil.
Tannin and dye stains
Coffee, tea, soda, and ink can sometimes leave a visible halo even after the color lifts. Dye transfer from jeans or bags can also move into lighter seats. These stains are the most likely to need repeated blotting and extraction, because rubbing usually pushes pigment deeper into the weave.
Mud, road grime, and water marks
Dry dirt should be vacuumed first so grit does not abrade the cloth. Mud usually needs full drying before removal, then a controlled wet clean. Water marks often come from mineral residue left at the edges of a damp area, so the fix is usually even cleaning and thorough drying, not more water.
Why cloth seat material changes the method
Cloth car seats are not all the same. Woven fabric can tolerate light agitation but can also trap grit; microfiber tends to clean evenly but may show shade changes if over-wet; velour can hold moisture longer and flatten if brushed too hard. Foam backing makes drying time and moisture control part of the cleaning plan.
Suppose a coffee spill left a dark ring on the outer bolster, while the center still looks clean. That ring is often a moisture edge, not a single spot. Treating the whole affected panel lightly and drying it well usually works better than attacking only the dark line.
How to prep the seat before any wet cleaning
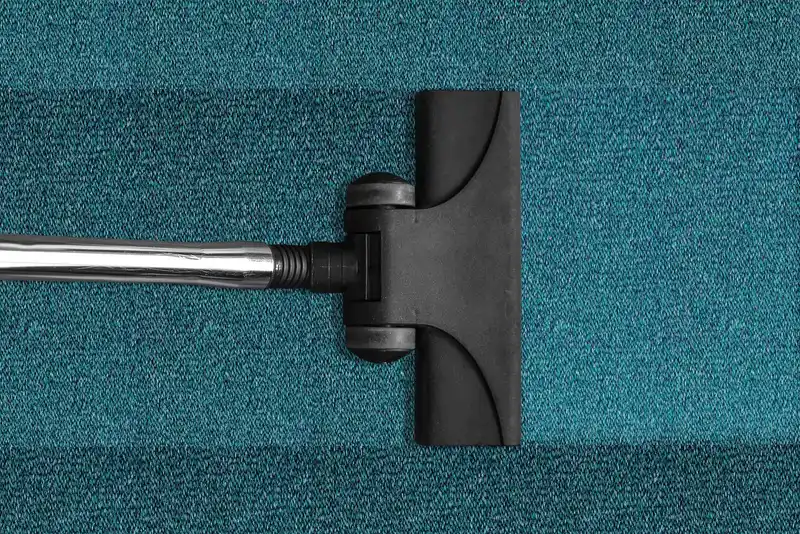
Prep matters because loose grit, crumbs, and sand turn into abrasion once water hits the fabric. Vacuuming with a crevice tool first removes debris from seams and bolsters, where stains and residue often collect. A clean surface also makes it easier to see whether the cleaner is actually lifting the stain.
Vacuum with a crevice tool first
Use the crevice tool along stitched seams, seat edges, and the base of the bolster. Those channels trap dirt, and dirt dragged through wet fibers can leave gray streaks. Vacuuming first also reduces the chance of pushing grime into the foam when the seat is damp.
Check seams, bolsters, and hidden grit
Press the fabric lightly before cleaning. If the seat feels sandy or gritty, keep vacuuming until the fibers feel clean. On seats with deep bolsters, a soft brush attachment can help lift loose debris before any wet product touches the cloth.
Spot-test the cleaner in an out-of-sight area
Spot-testing on dyed cloth is generally recommended, especially on microfiber and darker fabrics. Apply a small amount behind the seat or under a lower edge, wait for drying, then check for dye bleed, lightening, or texture change. If the test area changes, switch products before cleaning the visible stain.
- Vacuum the seat surface, seams, and bolsters.
- Choose the mildest cleaner that fits the stain type.
- Test a hidden area and let it dry.
- Prepare clean microfiber towels before you start.
Which cleaner should you use first?
Start with a pH-neutral upholstery cleaner for most cloth seats, because it is safer on common seat fabrics and less likely to leave residue than harsher products. Use oxygen-based stain remover for organic stains when the label allows it. Spray, foam, and extractor-ready formulas each have a place, but steam is not the default choice for unknown stains.
pH-neutral upholstery cleaner
A pH-neutral cleaner is the best first choice for many cloth seats because it cleans surface soil without being overly aggressive. Spray formats are useful for targeted spots, while foam can help reduce over-wetting on more absorbent cloth. Always check the label for seat-fabric suitability and spot-test first.
Oxygen-based stain remover
Oxygen-based stain remover fits organic stains such as food, drink, sweat, and some pet accidents. It needs dwell time to work, and full residue removal matters because leftover cleaner can leave pale rings or attract dirt. It should not be the first choice for unknown dye transfer or delicate velour without testing.
When foam, spray, or extractor-ready formulas make sense
Foam can sit on the surface longer and reduce flood risk. Spray gives tighter control on small areas. Extractor-ready formulas are useful when you plan to wet-vacuum right away, because they are made to be lifted out rather than left behind. The cleaner format should match the stain depth and the fabric’s absorbency.
Why steam cleaner is not the default choice
Steam adds heat and moisture at the same time. That can help some grime, but it can also set protein stains, distort delicate fibers, or drive contamination deeper into foam. For unknown stains, steam should come after stain identification, not before. It is rarely the safest first move on cloth seats.
How to clean cloth car seats stains
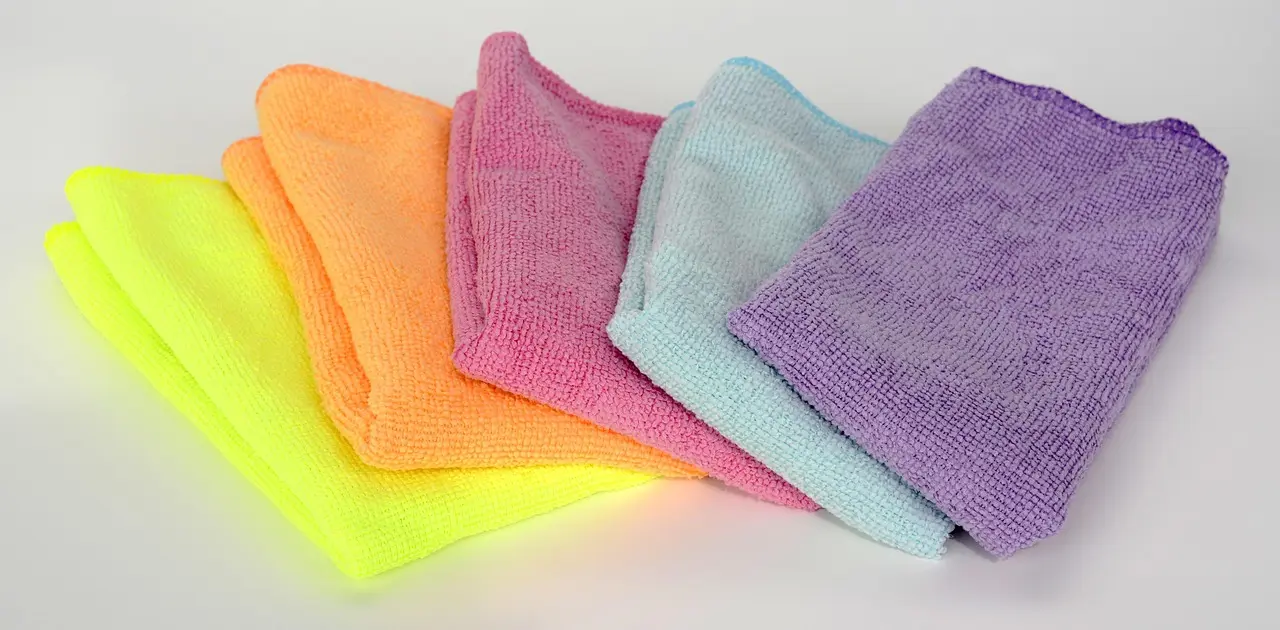
The safest sequence is simple: apply the right cleaner, wait the correct dwell time, blot with clean microfiber towels, then agitate lightly if needed and extract the residue. Do not scrub hard. For deep stains, removing cleaner matters as much as lifting the mark, because leftover product can pull soil back to the surface.
Apply cleaner and allow dwell time
Use only enough product to dampen the spot, not soak the cushion. Let it sit for the label’s recommended time, or a short controlled period if the label is vague. Dwell time lets the cleaner break the bond before you touch the fibers.
Blot with microfiber towels instead of scrubbing
Blot from the outside of the stain inward, then switch to a fresh towel as soon as color transfers. Multiple clean towels matter because a saturated towel can redeposit soil. Do not use a towel that already picked up dye on another area of the seat.
Use a soft upholstery brush after dwell time
A soft upholstery brush helps lift suspended soil from the fiber tips. Short-bristle brushes suit tighter weaves and microfiber; medium-bristle brushes can work on sturdier cloth, but only with light pressure. Brush in short strokes, then blot again so loosened residue does not dry back into the seat.
Extract or wet-vacuum to remove residue
Extraction is important for deep stains because it pulls out cleaner, dissolved soil, and excess moisture. That reduces re-soiling and lowers the chance of water rings. If the stain covers a large area or keeps returning after drying, wet-vacuuming is usually the better finish than more wiping.
| Stain type | Safest cleaner format | Dwell time range | Agitation method | Extraction need | Common failure signs |
|---|---|---|---|---|---|
| Oil-based | pH-neutral spray or low-foam upholstery cleaner | 3-5 minutes | Soft brush, light pressure | Recommended | Spot stays dark, greasy sheen remains |
| Protein-based | Oxygen-based stain remover if label allows | 5-10 minutes | Gentle blotting, then light brush | Strongly recommended | Odor returns, yellowing or gray edge appears |
| Tannin-based | Upholstery cleaner or oxygen-based product | 2-5 minutes | Blot first, then soft brush if needed | Recommended | Ring forms after drying |
| Mud or road grime | pH-neutral spray | 2-4 minutes | Brush after drying loose soil | Helpful | Gray smear, grit still felt in fibers |
| Dye transfer | Very mild upholstery cleaner, tested first | 1-3 minutes | Minimal blotting only | Often needed | Color spreads, fabric lightens unevenly |
| Water marks | Low-residue upholstery cleaner | 1-3 minutes | Even light brushing | Usually needed | Edge ring gets larger after drying |
How do you dry cloth seats without creating new problems?
Drying is part of the cleaning job, not the last extra step. Move air through the cabin with windows cracked or fans running, and avoid heat that can damage foam backing or leave the surface dry while the cushion stays damp. Good airflow lowers mildew risk and helps prevent odor from coming back.
Move air through the cabin with windows or fans
Open windows if conditions allow, or aim a fan at the seat so air passes across the fabric and into the cabin. That speeds evaporation from both the face fabric and the cushion below. If possible, tilt the seat or slide it to expose hidden damp areas around seams.
Prevent mildew and odor return
Odor that returns after drying often means residue or trapped moisture remained in the foam. Extraction and airflow reduce that risk. If the seat still smells sour after it dries, the stain may need another controlled clean or a deeper extraction pass.
Avoid heat damage to foam backing
Strong heat can distort upholstery fibers and dry the top layer while moisture stays trapped underneath. That trapped moisture is one reason a seat can smell fine at first and then turn musty later. Air movement is slower than heat, but it is safer for most cloth seats.
How to clean stained car seat upholstery
Start with stain identification, then use the least aggressive safe cleaner and remove it fully. That sequence matters more on car seats than on loose fabric because foam backing, seams, and bolsters can trap moisture and residue. If the stain changes color, spreads, or returns after drying, stop and change tactics.
Common first-timer mistakes
A common first-timer mistake is soaking only the dark spot, then hoping it will dry clean. That often leaves a ring wider than the original stain. Another error is rubbing a dye transfer mark harder, which can grind color deeper into the weave and make the seat look worse.
When DIY no longer makes sense
Stop DIY cleaning if the stain covers a large section, has been there for a while, or comes back after a couple of careful passes. Recurring stains often mean residue is still in the foam or the stain is actually dye migration, which standard upholstery cleaner rarely fixes on its own.
What professional removal changes
Professional detailing is most useful when the stain needs stronger extraction, controlled heat, or specialty chemistry. It also makes sense when the seat is damp deep in the cushion or when the stain type is uncertain and you want to avoid permanent dye loss or fabric distortion.
Frequently asked questions
How to deep clean cloth car seats?
Deep cleaning cloth seats means cleaning the fabric and removing residue from the cushion below it. After spot testing, apply cleaner sparingly, agitate lightly, blot, and extract if possible. Finish with strong airflow so moisture does not stay trapped in the foam or seams.
How to clean fabric car seats stains?
For fabric seats, use a safe upholstery cleaner and work in small sections so the cleaner does not spread. Blot with clean microfiber towels, then brush lightly if needed. Drying is essential because fabric and seat foam can hold moisture long after the top layer looks dry.
How to remove stains from car seats?
Match the stain to the right method. Oil needs a low-residue cleaner, organic stains may need oxygen-based treatment, and dye transfer often needs caution rather than force. If the stain has moved into the cushion or keeps returning after drying, extraction or professional help is the better path.
How to clean stains off car seats?
Work from the outside in, use a small amount of cleaner, and avoid aggressive scrubbing. The goal is to lift the stain without pushing it deeper into the cloth or foam. If the fabric lightens unevenly, the seat may need a controlled full-panel clean instead of a spot-only fix.