Tire Dressing: How to Apply It and Choose Finish
Choose a matte dressing for worn or textured sidewalls, a satin finish for daily drivers, and a glossy finish only if you want a wet look. Apply a thin, even coat to tires that are fully dry, then let it cure before driving. Bad prep or too much product wastes material, pulls dust, and throws sling onto paint. This guide shows how to pick the right finish by tire condition, driving habits, and sidewall design, then apply it with a repeatable, no-sling method.
What tire dressing does
Tire dressing changes sidewall gloss level, from matte to wet look, and it can help the tire look more uniform after cleaning. The finish you get depends on product type, coat thickness, and how much excess you remove before the first drive.
Sling is the common failure mode. It happens when product stays on the surface and gets flung onto paint or lower panels after the tire starts spinning, which is why dirty tires and heavy coats cause trouble more often than careful prep and thin application.
What tire dressing does not belong
Apply dressing to the outside sidewall only. Keep it off the tread, brake parts, and pedals, and avoid painted surfaces unless the label says they are approved. The tread needs grip, not dressing, and brake components need to stay clean.
Can Tire Dressing Hurt Older Tires?
This article explains the key safety distinction: tire dressing usually won’t cause dry rot on a healthy tire, but it can make existing cracks, weather checking, or aging sidewalls harder to spot. It also breaks down when water-based products are generally safe, when solvent-heavy formulas become risky, and which tires should be left alone entirely. That matters because the goal is not just a better-looking sidewall; it is avoiding product use that could delay a needed replacement or mask damage. See the full tire dressing damage guide for a simple good-to-go, caution, and no-go checklist.
What you’ll need
- Tire cleaner or degreaser
- Foam applicator
- Microfiber towel
- Tire dressing product
- Clean water
- Gloves
- Optional masking for nearby painted surfaces
Tire dressing matrix
| Tire condition | Vehicle use | Weather exposure | Best finish | Product type | Application method |
|---|---|---|---|---|---|
| Newer tire, dark and uniform sidewall | Weekend car or show use | Dry garage, light road spray | Satin to glossy | Water-based for lighter sheen; solvent-based for more gloss | Foam applicator, then light microfiber leveling |
| Aged tire, brown-oxidized sidewall | Daily driver | Frequent rain, road grime | Matte to satin | Water-based or gel/cream for control | Foam applicator in one thin pass, then wipe excess |
| Textured sidewall with deep lettering | High-mileage commuter | Wet roads, frequent wash cycles | Matte or satin | Gel or cream for low sling | Foam applicator or dressing pad; work lettering carefully |
| New tire, smooth sidewall | Daily driver | Mixed weather | Satin | Water-based | Foam applicator with a quarter-sized amount per tire, then level |
| Older tire with patchy absorption | Any use | Any exposure | Matte | Water-based, applied in lighter layers | Clean first, then build finish in two passes if needed |
Use this matrix as the first decision rule. If you drive in rain or wash often, start lower on gloss and lower on product load. If the tire is newer and dark already, you can move toward satin or gloss without forcing the sidewall to absorb a heavy coat.
How do you choose the right finish?
Match the finish to the sidewall and how the car is driven. Matte hides texture and looks controlled, satin gives a balanced finish for most street use, and glossy or wet look fits cars that spend more time parked clean than covered in road spray.
Matte finish for a low-sheen look
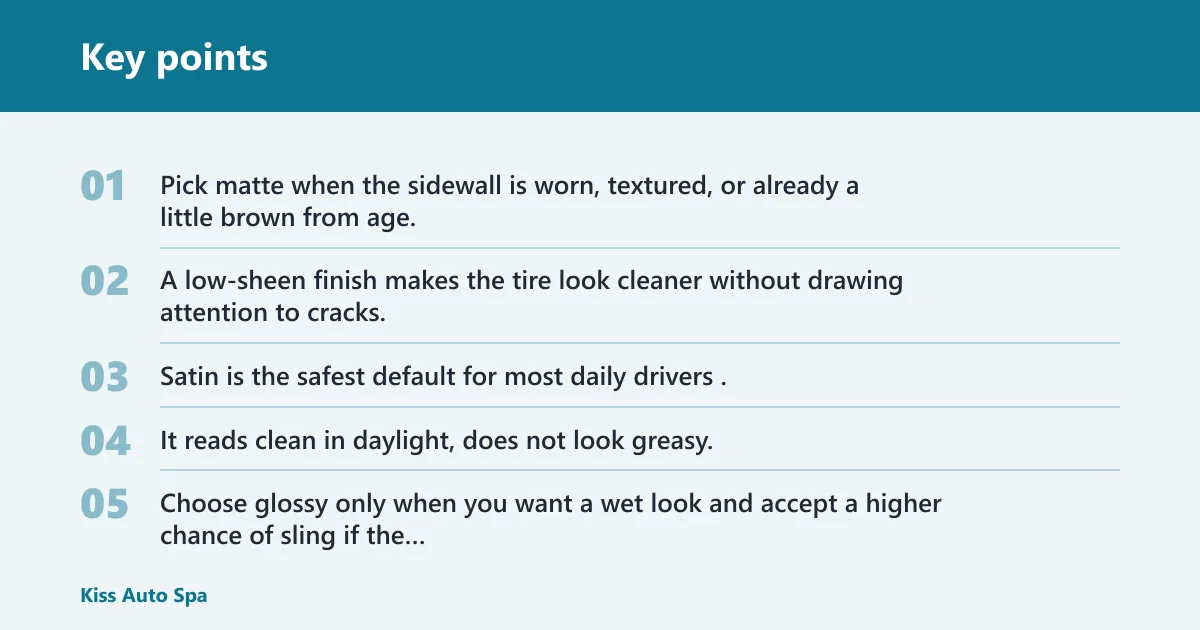
Pick matte when the sidewall is worn, textured, or already a little brown from age. A low-sheen finish makes the tire look cleaner without drawing attention to cracks, oxidation, or rough molding marks.
Satin finish for a balanced finish
Satin is the safest default for most daily drivers. It reads clean in daylight, does not look greasy, and leaves enough visual depth for newer tires without making the sidewall appear overcoated.
Glossy finish for a higher-wet look
Choose glossy only when you want a wet look and accept a higher chance of sling if the tire is overcoated. It works best on clean, newer sidewalls and on vehicles that will not see immediate highway speed after dressing.
How product type changes the result
Water-based dressings are usually easier to spread and wipe clean, and they tend to land in the matte to satin range. Solvent-based dressings often give more gloss and longer wear, but they need careful label review and more restraint on application thickness.
Gel and cream products usually give very low sling risk, especially on textured sidewalls or raised lettering. Spray products are faster on smooth sidewalls, but they are easier to overapply, which is why the applicator choice matters as much as the formula.
Should you clean the tire first?
Yes. A clean, dry tire holds dressing better, and old dressing or road grime can block even coverage. A tire cleaner or degreaser removes the film that causes patchiness, streaking, and weak adhesion, especially on tires that have been dressed several times before.
Why old dressing causes patchiness
Built-up residue creates spots that repel new product while other areas soak it up. That leaves a blotchy look, and it often tempts people to add more product, which usually makes sling and rim transfer worse.
How tire cleaner or degreaser helps bonding
Use a dedicated tire cleaner or degreaser on the sidewall, then rinse or wipe it off fully before dressing. The cleaner removes oils, embedded grime, and old dressing so the new coat sits evenly and dries with less migration.
When a second cleaning pass matters
If the towel or foam pad still pulls brown residue after the first pass, clean again before dressing. Say your tire looks black from three feet away but leaves a tan film on the applicator; that usually means the surface is not ready for a finish coat yet.
How do you apply tire dressing without sling?
Start with a dry sidewall, load the foam applicator lightly, spread a thin coat, and wipe the excess with a microfiber towel. Then wait for the label’s dry or flash time before driving; about 5 to 10 minutes is a common starting point, but label directions should take priority.
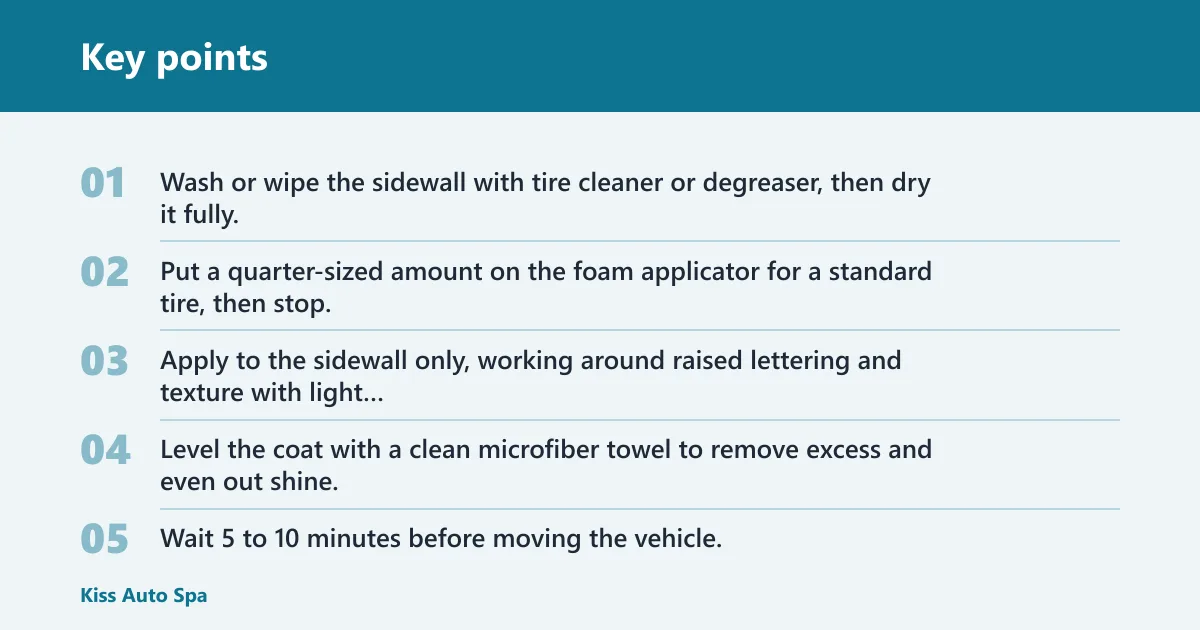
- Wash or wipe the sidewall with tire cleaner or degreaser, then dry it fully.
- Put a quarter-sized amount on the foam applicator for a standard tire, then stop. Add more only after the first pass if the sidewall still looks dry.
- Apply to the sidewall only, working around raised lettering and texture with light pressure.
- Level the coat with a clean microfiber towel to remove excess and even out shine.
- Wait 5 to 10 minutes before moving the vehicle, or follow the label if it calls for a longer wait.
Under-dried product looks wet, uneven, or tacky to the touch. Fully flashed product usually feels set and no longer smears when touched lightly with a clean finger or towel edge. If it still feels slippery, the tire is more likely to sling onto paint.
Suppose a commuter car gets dressing on a cool morning before a 20-minute highway drive. If the sidewall still looks glossy-wet at the tread edge after 8 minutes, that coat is too heavy for immediate travel and needs more leveling time before the car moves.
Can you spray tire dressing directly on the tire?
Direct spraying is not the best default because it increases overspray and makes it easier to hit the tread, rims, and nearby paint. A foam applicator gives better control on sidewalls, especially on cars with deep lettering or tight wheel wells.
Spraying can still work on very smooth sidewalls when the label calls for it, but the safest routine is to spray the applicator, not the tire. That keeps the coat thinner and makes sling less likely after the first drive.
How do you keep tire dressing off the rims?
Keep the applicator flat against the sidewall and stop short of the rim lip. Mask nearby paint if the wheel opening is tight, and wipe the outer edge with a microfiber towel before the dressing has time to set.
Raised lettering and deep grooves can trap extra product near the wheel lip. Work those areas last, with less product on the pad, so the finish stays on the rubber instead of migrating to the rim face or barrel edge.
Cleaning transfer before it sets
If dressing reaches the rim, wipe it immediately with a clean microfiber towel. Once it dries, it can smear across the wheel face during the next wash and take more work to remove cleanly.
Common mistakes
Most failures come from too much product, dirty tires, or skipping the wipe-down. Those errors create sling, streaks, and a greasy look that shows up within the first drive.
Overapplying product
Heavy coats do not build a better finish. They stay wet longer, attract dust, and are more likely to fling onto paint. Start light, then add only if the sidewall still looks dry after leveling.
Using the wrong finish for the tire condition
A glossy finish on an old, oxidized sidewall often makes defects more visible. A matte or satin coat usually looks cleaner on worn tires because it avoids the wet, uneven look that patchy rubber can produce.
Skipping dry time
Driving too soon is a direct path to sling. A longer wait is safer if the coat is heavier or the weather is cool and damp.
Applying to tread or brake parts
Keep dressing off the tread and away from brakes. Any overspray or wipe-off that reaches those areas should be removed immediately with a clean towel and a tire-safe cleaner.
Missing streaks, sling, and rim transfer
A streak usually means product was left in uneven bands and needs another light leveling pass. Rim transfer means the edge was overcoated or not wiped clean. Sling means excess product left the sidewall before the first drive.
A common first-timer mistake is dressing one front tire heavily because it looks duller than the other three. The result is often a darker, wetter wheel well on that corner and more sling on the adjacent lower door, even though the product itself is unchanged.
If that didn’t work, try this next
- Wipe the sidewall with a dry microfiber towel and wait another 5 minutes.
- Inspect the tread edge and rim lip for wet residue, then clean both with a tire-safe cleaner.
- Reapply using half the previous amount on the foam applicator, then level again.
How many coats of tire dressing should you use?
Start with one thin coat as a common starting point. Add a second only if the sidewall still looks dry after the first coat has flashed and been leveled. More coats do not automatically mean more protection; they mainly raise gloss and sling risk.
For many tires, one light pass is enough. If you want more shine, add a controlled second pass instead of saturating the sidewall in one round. That keeps the finish predictable and easier to clean later.
Frequently asked questions
Should you apply tire dressing to clean or dirty tires?
Clean tires. A good application starts with clean and dry tires before dressing, because grime and old residue block bonding. If the tire still leaves brown film on the towel after cleaning, repeat the prep step before adding product.
What finish should I choose for tire dressing: matte, satin, or glossy?
Choose matte for worn or textured sidewalls, satin for most daily drivers, and glossy only when you want a wet look. Water-based products usually land in the matte-to-satin range, while solvent-based products usually look glossier and last longer.
How long should tire dressing dry before driving?
A common starting point is 5 to 10 minutes, but the label controls the final wait time. If the sidewall still looks wet or feels tacky, give it more time before moving the car so excess product does not fling onto paint.
What is the difference between water-based and solvent-based tire dressing?
Water-based dressings are usually easier to spread and clean up, and they typically leave a more natural finish. Solvent-based dressings often give more gloss and longer wear, but they can sling more if overapplied and deserve closer label review.