Paint Sealant: What It Is and How to Use It
Paint sealant is a synthetic protective coating that bonds to clean paint. Apply one thin coat after washing, decontaminating, and drying, then cure for about the label’s time, which is often 12–24 hours. Skip prep or apply too thick, and bonding weakens, streaks form, and protection drops fast. This guide explains sealant types, the right prep for each paint condition, application steps, and the mistakes that cause failure.
What paint sealant does
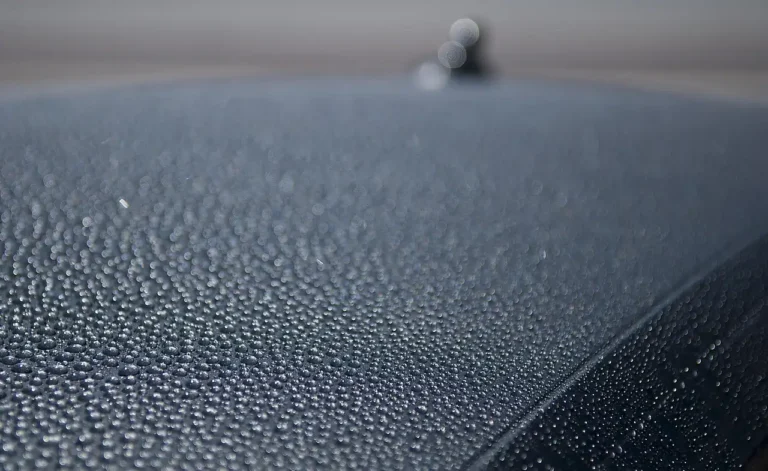
Paint sealant is a synthetic polymer product made to bond to the clear coat and leave a protective layer on top of the finish. It is usually sold as a liquid or cream, though spray sealants are also common. The aim is simple: reduce UV damage, slow weather wear, keep contamination from sticking as fast, and help wash away road film while adding gloss and water beading.
Clear coat matters because standard sealants work best on intact, glossy paint. The sealant needs a clean, stable surface to bond to, not a layer of dirt, old wax, or embedded fallout. If the paint is dull, swirled, or contaminated, prep must match that condition before the sealant goes on.
Synthetic sealant vs wax
Wax is generally made from natural ingredients, while sealant is synthetic. That difference usually means sealant lasts longer and gives a more even film on paint. Wax can still look good, but it is usually the shorter-lived option. Some products blur the naming, so read the label rather than assuming a bottle marked “wax” or “sealant” tells the full story.
What protection you can expect
Most sealants aim to reduce the rate at which paint picks up water spotting, grime, and UV-related wear. Some guides place service life around four to six months, while others list six months to a year or even three months to 12 months depending on product type and use. Those ranges are not guarantees. Washing habits, climate, parking, and prep quality all change the result.
A common first-timer mistake is skipping inspection after a wash. Suppose a black sedan looks clean from six feet away, but the lower doors still feel gritty. A sealant applied over that film may bond poorly and leave the finish looking smeared instead of crisp. The issue is the surface, not the sealant.
When sealant is the right choice
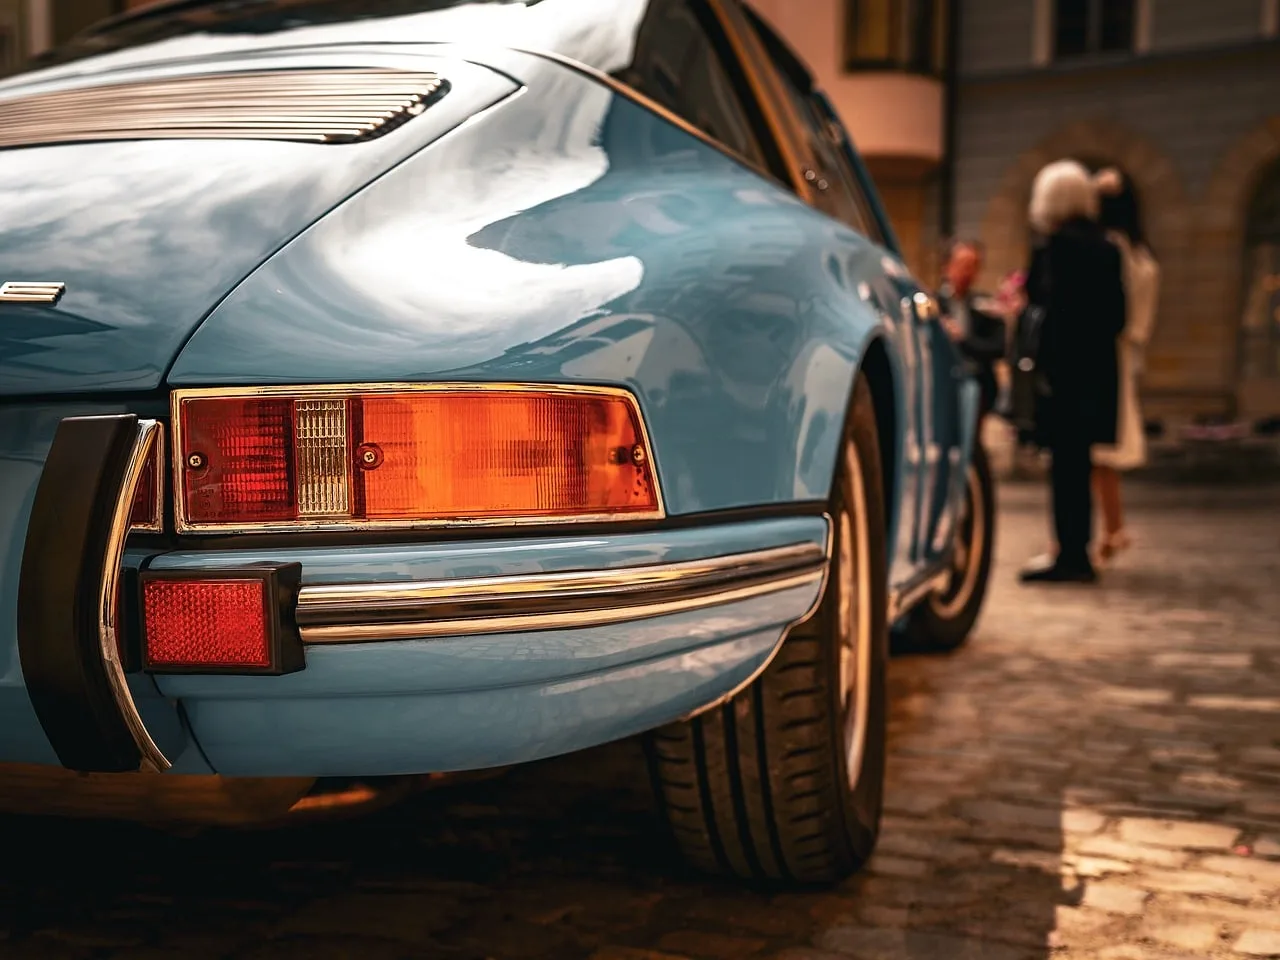
Sealant is the right choice when the paint is glossy, the clear coat is intact, and you want longer-lasting protection than a basic wax layer usually gives. It also makes sense after correction work, because a refined surface lets the sealant sit on cleaner paint and look more even. It is not the cure for every paint condition.
Freshly washed glossy paint
If the vehicle has been washed, dried, and the finish still looks smooth and glossy, a standard sealant is usually a good fit. At that point, the main job is to remove any leftover films or water residue and then apply the product in a thin coat. This is the simplest sealant use case.
Lightly contaminated daily-driver paint
If the paint feels slightly rough after washing, bonded contamination is likely still on the surface. In that case, clay bar treatment or another decontamination step is appropriate before sealing. Clay removes bonded contaminants; it does not correct scratches, swirls, or dullness. Use lubricant with clay, then wipe the panel clean before applying sealant.
Corrected paint and new repairs
Corrected paint can be an excellent candidate for sealant once polishing residue is removed. A freshly repaired panel is different: the paint system may still be curing, and some repair products need time before coating. Follow the repair shop’s guidance before sealing new paint. If the panel is not ready, sealing too soon can trap defects or interfere with adhesion.
Sealant readiness checklist
This checklist helps you match paint condition to prep and product format. Use it before deciding whether to polish, clay, or switch to a spray sealant instead of a traditional wipe-on sealant.
| Paint condition | Required prep | Sealant format that fits best |
|---|---|---|
| Freshly washed glossy paint | Dry fully; inspect for residue; no polish needed if the finish is already clear | Traditional wipe-on liquid or cream sealant |
| Lightly contaminated daily driver | Wash, then clay or decontaminate; polish only if swirls or dullness are present | Wipe-on sealant after decontamination; spray sealant if you need faster upkeep |
| Corrected paint | Remove polishing oils and dust; inspect for remaining defects | Wipe-on sealant for a full protection layer |
| Matte or satin finish | Use finish-specific care only; do not polish or use standard gloss sealants unless the label allows it | Specialty matte or satin product, not a standard wipe-on sealant |
| Recently repaired panel | Check cure instructions for the repair; wait if the paint system is not ready | Hold off on traditional sealant until the panel is approved for coating |
- Polish? Yes only if scratches, swirls, or dull paint need correction.
- Clay? Yes when the surface feels rough or shows bonded contamination.
- Spray sealant instead? Yes when you want quicker application on healthy paint or want to maintain an existing layer.
Prep the surface before application
Sealant application starts before the bottle comes out. Wash the car, dry it completely, then decide whether clay or polish is needed. Prep is not optional if you want the sealant to bond well and leave an even finish. Each step fixes a different problem, and none replaces the others.
Wash and dry first
A pH-balanced hand wash is a sound starting point. Rinse off loose dirt, wash with a proper mitt, and dry with a clean microfiber towel or drying towel until no water remains in seams, emblems, mirrors, or trim lines. Sealant should go on a dry panel, not on damp spots hidden under trim.
Use clay bar or decontamination when needed
Clay bar treatment is for bonded contamination that washing leaves behind. Run your hand across the paint; if it feels rough, clay is often the right next step. Use lubricant, move gently, and fold the clay often to keep a clean surface in contact with the paint. Clay does not remove scratches or oxidation.
When polishing is optional
Polish is a separate step from sealant. Use it for swirls, scratches, or dull paint when the finish needs correction. You do not need to polish every vehicle before sealing. If the paint is already glossy and defect-free enough for your standards, washing and decontamination may be enough.
Picture a white hatchback that gets parked outside all week. The paint is shiny after washing, but the lower rear quarter panel feels gritty. That panel needs clay before sealant, while the rest of the vehicle may only need a thorough dry and inspection. The right prep can change from panel to panel.
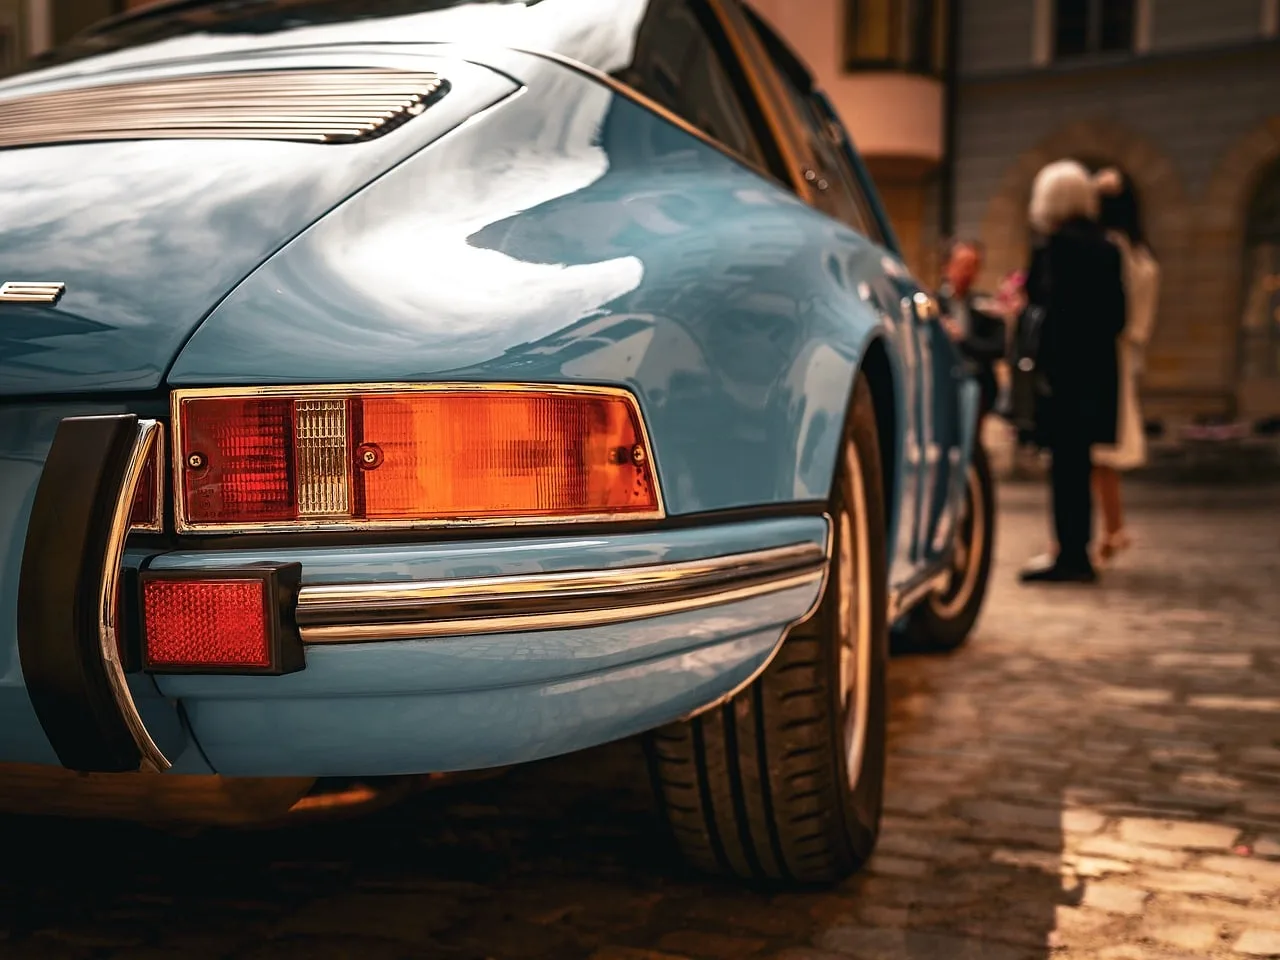
Use sealant on clean, dry paint, one panel at a time, and apply a very thin coat. Spread it evenly with the recommended applicator, then remove or level it according to the product’s timing. Some products call for a wipe-on, brief haze, and wipe-off cycle. Others call for a longer cure before buffing.
Apply thinly, panel by panel
Thin application matters because thick product is harder to remove and more likely to leave high spots or streaks. Work one panel at a time so you can see how the product behaves before it dries too far. A hood, a door, or a fender is manageable. Half the vehicle at once is where mistakes start.
- Choose a cool panel in the shade.
- Apply a small amount to the applicator.
- Spread an even, thin film over one panel.
- Let the product sit for the label’s wipe-on or wipe-off time, if specified.
- Buff or level with a clean microfiber towel.
- Inspect the panel in good light before moving on.
Use the right applicator and microfiber towel
Many liquid and cream sealants call for a foam applicator or a soft cloth pad. Use a clean microfiber towel for buffing or removal. The towel should be dry, soft, and free of old polish residue. Dirty towels can drag product around the paint and create streaking that looks like failed application.
Follow product timing exactly
Some sealants are designed to be buffed after a short haze. Others need more time before wipe-off. A few are spray sealants that work differently and may be applied, spread, and wiped almost immediately. Read the label for the exact wipe-on, wipe-off, and cure instructions. Those time windows are not interchangeable.
Say your silver coupe sits in a shaded driveway, but the rear bumper still gets warm from the afternoon sun. If the label calls for a cool panel, skip that bumper until it cools. Heat speeds drying and can make the product grab too quickly, which raises the risk of smearing and removal trouble.
How long does sealant last?
Sealant life depends on product formulation, prep quality, climate, and washing habits. Published claims vary: some guides say four to six months, others say six months to a year, and some list three months to 12 months. Those figures are product claims or guide ranges, not promises. Correct prep and careful washing help the finish hold up better.
Cure time vs buffing time
Do not mix up buffing time and curing time. Buffing time is when the product is ready to be wiped or leveled. Cure time is the period needed for polymer cross-linking or drying after application. A sealant can look finished on the surface long before it is fully cured.
Water exposure after application
Many products need a water-free curing period after application. That is separate from the wipe-off step. A label may instruct keeping the vehicle dry for about 12–24 hours, depending on the product. Rain too soon can disturb the finish before it sets.
Why climate and washing habits matter
Hot panels, direct sun, harsh detergents, and aggressive wash methods reduce service life. Parking indoors, washing with a gentle method, and avoiding abrasive contact help sealant last longer. Climate matters too. A car parked outdoors in sun, rain, and airborne fallout usually loses protection faster than a garage-kept vehicle.
Where sealant application fails
Most sealant failures come from surface condition or application errors, not from the idea of sealant itself. Old wax, oily residue, dirty trim edges, excess product, and bad timing can all leave streaks or weak bonding. When a sealant fails, the signs usually show up as patchy gloss, grabby removal, or poor water behavior.
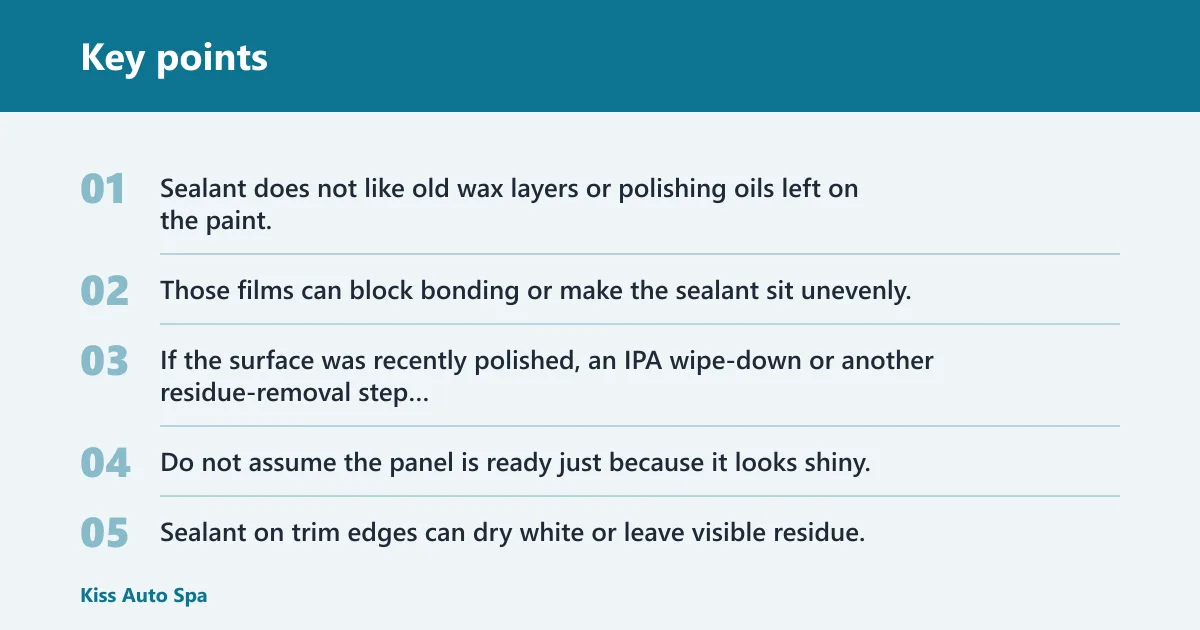
Old wax and oils
Sealant does not like old wax layers or polishing oils left on the paint. Those films can block bonding or make the sealant sit unevenly. If the surface was recently polished, an IPA wipe-down or another residue-removal step may be useful if the product instructions call for it. Do not assume the panel is ready just because it looks shiny.
Dirty trim edges and over-application
Sealant on trim edges can dry white or leave visible residue, especially on textured black plastic. Mask or wipe carefully around badges, grilles, and seals. Over-application is another common problem. Too much product takes longer to remove and often leaves high spots, which are darker patches that show in angled light.
High spots, streaking, and removal trouble
If streaking appears, check whether the product sat too long, the panel was too hot, or the coat was too thick. High spots usually need immediate leveling with a clean microfiber towel before they harden further. If removal becomes difficult, stop adding product. Work smaller sections and keep towels fresh and dry.
A common first-timer mistake is sealing a dark car in a driveway at midday. The hood and roof are hot, the product flashes too fast, and the towel drags instead of levels. The fix is simple: wait for shade, let the panel cool, and work smaller sections with less product.
Frequently asked questions
What is paint sealant for cars?
Paint sealant for cars is a synthetic protective product made to bond to clear coat and leave a protective layer on the finish. It is used to help guard paint from UV, weather, contamination, and road grime, while also improving gloss and water beading on properly prepared surfaces.
How do you use paint sealant on a car?
Wash and dry the car first, then clay or polish only if the paint needs those steps. Apply sealant thinly with the recommended applicator, work panel by panel, and buff with a clean microfiber towel if the product calls for it. Follow the label for cure time and water avoidance.
Is sealant in paint the same as wax?
No. Wax is generally made from natural ingredients, while sealant is synthetic. Sealants are usually sold as liquid or cream products and often last longer than wax. Some product names are loose, so the label matters more than the word on the front of the bottle.
Do you need to polish before applying paint sealant?
Not always. Polish is for scratches, swirls, and dull paint, so you use it when correction is needed. If the paint is already glossy and in good shape, washing and decontamination may be enough before sealing. Polish is a separate step, not a universal requirement.
How long does paint sealant last on a car?
Published claims vary by product and guide, but common ranges include four to six months, six months to a year, and three months to 12 months. Actual life depends on prep, climate, washing habits, parking conditions, and whether the sealant was applied correctly on a clean, dry surface.
Can you apply paint sealant over old wax?
That is a poor idea if the wax layer is still on the paint. Old wax can block bonding and leave the sealant uneven. Wash first, then decontaminate the surface and remove residue as needed before applying sealant. A clean, stable clear coat is the better target.
Can paint sealant be applied in direct sunlight?
Direct sunlight is not the best choice. Many guides recommend shade, a cool panel, and a dry surface, because heat speeds up flashing and makes removal harder. If the label allows warmer conditions, follow that product’s exact directions. In general, shade is the safer option.
How long should paint sealant cure before getting wet?
It varies by product, and the label is the final word. Some products call for a water-free cure period after application, often around 12–24 hours in general guidance. That is separate from buffing time. Rain or washing too soon can weaken the finish before it sets.