How to Apply Car Wax by Hand Step by Step
Apply car wax by hand, one panel at a time. Use a thin, even coat, let it haze per product directions, then buff off with a clean microfiber towel. Too much wax leaves residue, wastes product, and makes removal harder, especially on hot panels or older paint. This guide shows how to prep, apply, and remove wax by hand, plus how to adjust for paste, liquid, and spray wax.
What hand waxing changes
Hand application gives you control. You can keep product off trim, slow down on rough paint, and stop before a section gets overloaded. That matters because wax works as a protective layer on clear coat, and a thin film bonds and buffs more cleanly than a thick one.
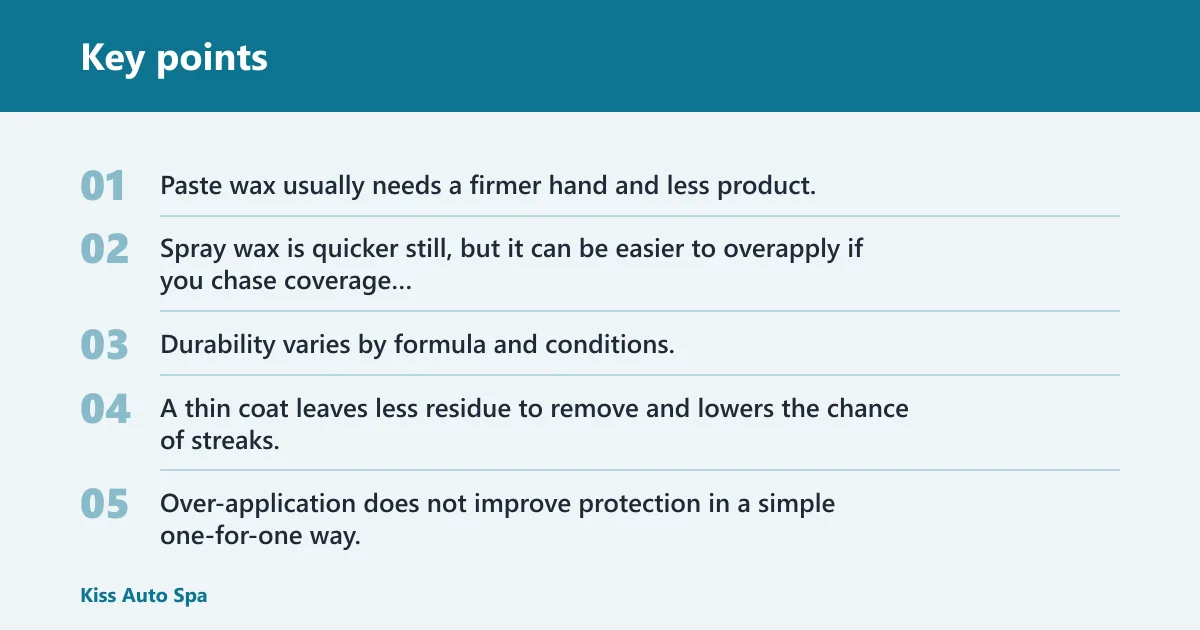
Paste wax usually needs a firmer hand and less product. Liquid wax spreads faster. Spray wax is quicker still, but it can be easier to overapply if you chase coverage instead of thinness. Durability varies by formula and conditions, and many manufacturers list protection in weeks to months.
Why thin coats matter
A thin coat leaves less residue to remove and lowers the chance of streaks, white edges on trim, and hazy patches on black paint. Over-application does not improve protection in a simple one-for-one way; it usually just makes wipe-off slower and less even.
When hand application beats speed
Use hand waxing when the paint has tight contours, trim pieces, emblems, or older clear coat that needs a lighter touch. A foam or microfiber applicator pad lets you work these areas with low abrasion and better control than a machine on a first pass.
What you’ll need
- pH-balanced car shampoo
- Two wash buckets or a wash mitt setup
- Clean drying towel or blower
- Clay bar or other paint decontamination product, if the paint feels rough
- Foam or microfiber applicator pad
- Car wax: paste, liquid, or spray
- Clean, plush microfiber buffing towels
- Separate microfiber towel for trim and tight edges
How should you prep the paint?
Wash and dry the car first, then decide whether the paint may need clay. Work only on cool panels out of direct sun. If the surface feels gritty after washing, a decontamination step helps wax bond more evenly and lowers the chance of dragging bonded debris across the finish.
Wash and dry before wax
Use a pH-balanced car shampoo to remove road film, dust, and loose dirt. Rinse well. Dry the paint completely, including seams, mirror bases, and around badges, because trapped water can dilute wax and leave spots when you start buffing.
Decide if clay is needed
If the paint feels smooth, wash-only prep may be enough for a routine wax. If it feels rough or you see bonded specks after washing, clay or another decontamination step is worth the extra time. Do not clay aggressively on delicate trim.
Check heat, dust, and edges
Set the car in shade and touch the panels. If they feel warm, wait. Wipe dust from emblems, panel gaps, and trim before wax reaches those areas, since residue is easier to prevent than to remove later.
How do you apply car wax by hand?
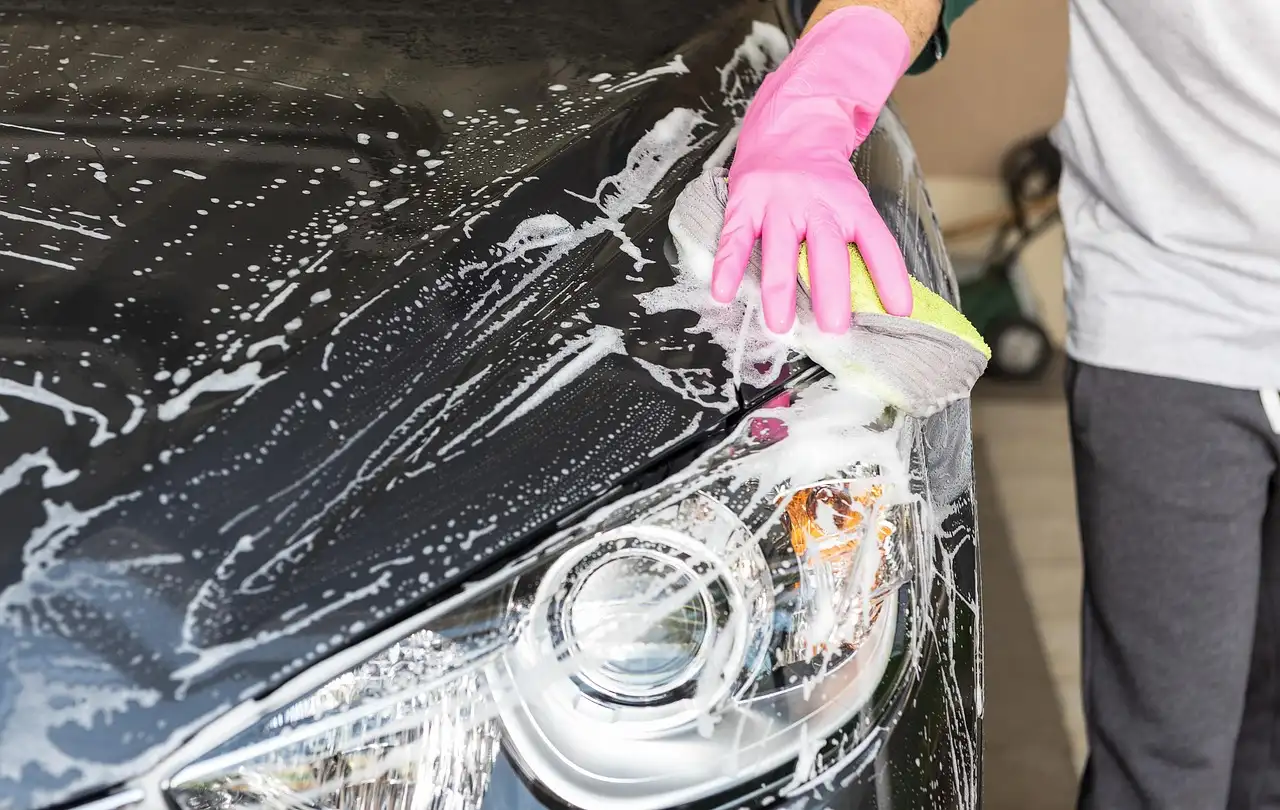
Start with a primed applicator, then work one small section at a time with light pressure and overlapping passes. The right amount is usually less than most people expect. Follow the product label for cure or dwell time, because wipe-off timing affects streaking and haze.
- Prime the applicator with a thin film of wax.
- Work on a section of about 2 to 4 square feet at a time.
- Spread in overlapping passes until the coat looks nearly invisible.
- Wait the label-specified haze or dwell time.
- Buff with a clean microfiber towel, then inspect before moving on.
Step 1: Prime the applicator
For paste wax, rub the pad lightly over the surface of the wax, then spread that light film across the pad face. For liquid or spray wax, add enough to dampen the pad, not soak it. A loaded pad wastes product and pushes wax into seams.
Step 2: Work one small section
Choose a hood corner, one door section, or half a fender. Small sections keep the wax from drying unevenly. Use straight-line or gentle overlapping passes if the label suggests it; some products are fine with circular motion, but the goal is always a uniform film.
Step 3: Spread a thin, even coat
Keep pressure light. If the surface turns opaque white immediately, that is usually too much product. A proper coat often looks like a faint sheen, not a thick layer. Add only enough to cover the section once, then stop.
Step 4: Follow the label for dwell time
Most waxes need a haze before removal, but the exact timing varies by formula, temperature, and humidity. Some products may be ready in minutes; others need longer. Do not guess if the label gives a specific cure or removal window.
Step 5: Buff and inspect before moving
Use a clean, plush microfiber towel and turn it often. Wipe gently until the haze lifts and the finish looks clear. Then check trim edges, emblems, and panel gaps. If residue remains, remove it before starting the next section.
Wax application checklist
| Step | Estimated wax amount | Expected cue | Common mistake |
|---|---|---|---|
| Wash | None | Water sheets or beads evenly after rinse | Waxing over road film or grit |
| Dry | None | Panels are fully dry, including seams | Leaving water in creases and badges |
| Prep | None, unless using clay lube | Paint feels smooth or has been decontaminated | Skipping clay on rough, bonded contamination |
| Apply | About 1 pea-sized dab per 2 to 4 square feet for paste; a light mist or thin bead for liquid or spray | Almost invisible film | Overloading the pad |
| Haze | None additional | Film turns dull or smears only slightly when touched lightly | Buffing too early |
| Buff | None additional | Clear, even gloss with no drag | Using a loaded or dirty towel |
| Inspect | None additional | No white residue at edges or emblems | Missing trim and panel gaps |
| Rework | Add only a very light touch-up pass, then recheck | Streaks disappear after a second towel pass | Layering more wax on top of residue |
How do you avoid streaks and residue?
Use less wax than you think you need, let the product reach the right haze, and keep a second clean towel ready. Streaks often come from over-application, while white residue usually shows up on trim, around badges, or in seams after the pad has crossed those areas.
Fixing over-applied wax
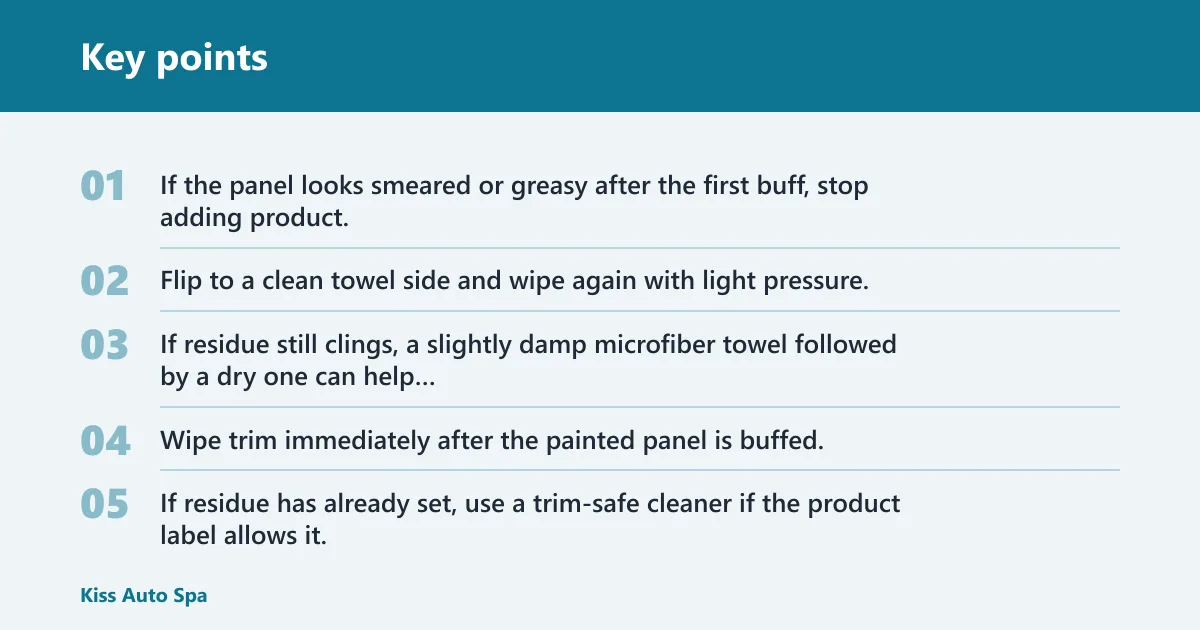
If the panel looks smeared or greasy after the first buff, stop adding product. Flip to a clean towel side and wipe again with light pressure. If residue still clings, a slightly damp microfiber towel followed by a dry one can help lift the excess without scrubbing.
Handling white residue on trim
Trim is where excess wax shows first. Wipe trim immediately after the painted panel is buffed, using a separate microfiber towel. If residue has already set, use a trim-safe cleaner if the product label allows it, then re-buff the paint edge carefully.
What to do if the towel loads up
Once a towel starts dragging, switch sides or grab a fresh one. A loaded towel redistributes wax instead of removing it. Suppose a dark door leaves gray streaks after two passes; the fix is usually a cleaner towel and a lighter touch, not more wax.
Common mistakes
Waxing hot panels is the fastest way to fight streaks. The product can flash too quickly and bond unevenly. Wait for the surface to cool before you start.
Using too much product is another common problem. A thick layer does not give better protection; it usually creates more haze and makes removal harder. A common first-timer mistake is to keep adding wax when the first pass already covered the section.
Skipping prep on rough paint can trap contaminants under the wax film. If the paint feels gritty after washing, clay it first. And if the finish has visible scratches or oxidation, polish first. Wax can cover gloss loss a little, but it does not correct defects.
How often should you wax your car by hand?
Most cars can be waxed about every 6 to 12 weeks with a traditional wax, though the interval depends on the product type, weather exposure, and paint condition. Some spray waxes are used more often, while longer-wearing paste formulas may last closer to the upper end of that range.
Adjust for paint condition
Freshly polished paint may hold wax more evenly, so a normal schedule is usually enough. Neglected daily drivers may need better prep first, then a shorter recheck interval. If the water behavior and gloss drop off early, the wax film is telling you it is time again.
Prevention
Keep the car washed with pH-balanced shampoo and dry it with clean microfiber so dirt does not wear down the protective layer as quickly. Store wax and towels clean and dry. Contamination on the pad or towel shortens the life of the finish and raises the chance of marring.
Frequently asked questions
How do you wax a car by hand step by step?
Wash, dry, and inspect the paint first. Then apply a thin coat to one small section, wait for the label-specified haze or cure time, and buff with a clean microfiber towel. Finish by checking trim, seams, and edges before you move to the next panel.
What is the proper way to apply car wax by hand?
Use a foam or microfiber applicator pad, keep the coat thin, and overlap your passes so the film stays even. Work on cool panels in shade. A proper application leaves just enough product to protect the clear coat without leaving heavy residue behind.
How do I prep my car before waxing it?
Wash with pH-balanced shampoo, rinse well, and dry completely. If the paint feels rough, add a clay or decontamination step before waxing. Check for hot spots near hoods and roofs, and wipe dust from badges and panel gaps before you start.
How much wax should I use on each panel?
For a typical panel section, start with about one pea-sized dab of paste wax per 2 to 4 square feet. Liquid and spray products should go on as a light mist or thin bead, not a wet coat. Add more only after the first pass clearly looks too light.
How long should wax dry before buffing off?
Use the manufacturer’s timing first, because dwell time varies by formula. Many products need only a light haze before removal, while others specify a longer cure. If the surface smears, wait a bit longer; if it turns chalky and hard, you may have waited too long.
Can I wax my car in direct sunlight or hot weather?
It is better to wait. Direct sun and hot panels can make wax flash too fast, which increases streaks and residue. If shade is not available, work early or late in the day and test the panel with your hand before applying any product.