How to Use Car Detailing Brushes Without Scratching Surfaces
Use the softest brush that can clear the area, keep pressure light enough that the bristles flex only a little, and stop if the surface is dusty, gritty, or already marred. Bad brushing can grind grit into clear coat, haze piano black, and lift dust into vents. This guide shows how to choose a brush, check for contamination, control contact, and decide when a microfiber towel or air is safer.
What you’ll need before you start
- Ultra-soft detailing brush for scratch-prone trim; Detail Factory’s Ultra-Soft Detailing Brush Set, and the TriGrip version for light-duty trim work.
- Boar-bristle detailing brush for selected narrow-gap tasks; the crevice set separates an ultra-soft head from a boar-bristle head, which matters because these heads do different jobs.
- Crevice brush and AC vent brush for narrow openings; head shape and gap clearance matter more than brand name.
- Toothbrush-style nylon brush for buttons, switches, seams, and tight controls.
- Paint brush style detailing brush for dust removal on interior surfaces where a soft, thick head and easy-grip handle help.
- Microfiber cloth for final wipe-downs and for bonded residue that should not be brushed again.
- Vacuum and puffer for loose debris before any brush touches the surface.
- Tire brush kept separate from interior brushes; Detail Factory’s ProGrip Tire Brush uses stiff synthetic bristles for tire scrubbing only.
Some of the brushes below are affiliate-linked products, and they are included as examples of brush types rather than independent test rankings.
How do you use detailing brushes without scratching surfaces?
Match the brush to the surface and the task, start with the least aggressive tool that can reach the area, and use shallow contact instead of scrubbing. Scratches usually come from trapped grit, the wrong bristle type, or too much pressure. If dust turns into tacky grime, stop brushing and change tools before marring starts.
Choose the right brush for the job
Synthetic bristles can be nylon or polyester, and they come in soft and stiff versions. Natural bristles include horsehair or boar’s hair, which can be very soft, but softness alone does not make a brush safe. The task decides the brush. A tire brush belongs on tires, while an ultra-soft trim brush belongs on delicate interior parts.
HomeHygia describes detail brushes as small and precise for emblems, grilles, and trim. Chemical Guys’ All in the Details ACC600 includes three sizes with mixed boar and synthetic bristles, which is useful when you need multiple head sizes for different gaps. Mothers Detail Brushes add extra-soft bristles and a rubber tip for seams.
Use the brush like a dust tool first
- Inspect the surface for gloss, texture, and existing wear.
- Remove loose grit with vacuum or puffer before touching the area.
- Test the brush on a hidden edge with one light pass.
- Use short, controlled strokes and let the bristles sweep dust, not grind it.
- Wipe or vacuum debris away before the next pass.
Say your piano black trim has a fine dust layer around a shifter bezel. A soft brush can lift that dust if the surface is clean and dry. If the same area feels sticky, the brush is no longer a dust tool. Switch to a microfiber cloth and a suitable interior cleaner instead of pressing harder.
What pressure should you use with a detailing brush?
Use only enough pressure to bend the bristles slightly. If the head flattens hard, the brush is pressing grit into the finish instead of lifting it away. Keep the handle steady, work at a shallow angle, and shorten the stroke when the surface is glossy, painted, or marked by prior wear.
Pressure, angle, and stroke length
Hold the brush so the bristles skim the surface, not spear it. A shallow angle reduces point loading on the finish. Short strokes keep contamination localized, which helps on vents, seams, buttons, and badges. Long scrubbing strokes spread grit across more of the panel.
Picture a leather steering wheel with dust at the stitching line. A soft brush can clear the seam if the dust is loose. If the stitch line has greasy buildup, brushing harder only smears it. Use a damp microfiber cloth wrapped around a fingertip or a foam applicator instead.
No-scratch brushing checklist
| Section | Check | Pass condition | Stop sign |
|---|---|---|---|
| Before use | Surface check | Dry, loose dust on a brush-safe surface | Sticky film, fresh polish residue, or already marred gloss |
| Before use | Contamination check | No visible grit, sand, or dried slurry in the area | Grainy feel, wheel dust, or embedded dirt |
| Before use | Brush softness check | Bristles feel soft and uniform; no shedding | Loose bristles, bent tips, or stiff spots |
| During use | Pressure, angle, stroke length | Light pressure, shallow angle, short strokes | Flattened bristles, dragging, or squeaking contact |
| After use | Inspection, rinse, dry, storage | Clean bristles, dry head, separate storage | Residual grit, damp storage, mixed with tire tools |
Before use: surface, contamination, brush softness
- Check whether the surface is glossy, matte, textured, or soft-touch.
- Look for loose grit, sand, and dried product residue.
- Run a finger over the brush head. It should feel even, not scratchy.
- Lightly sweep a hidden spot once to see whether the area has embedded dirt or a sticky film; if the bristles pick up crumbs, feel tacky, or leave a gray streak, stop and clean the area first.
- If you see fresh polish residue, wipe it away with a clean microfiber cloth before brushing.
- Confirm the brush has not touched tires, wheel wells, or engine grime.
During use: pressure, angle, stroke length, stop signals
- Use the lightest pressure that moves dust.
- Keep the brush at a shallow angle so bristles sweep instead of poke.
- Use short strokes around seams, badges, and vents.
- Stop immediately if the surface feels gritty, the brush drags, or grime smears.
After use: bristle inspection, rinse and dry, storage
- Check for trapped grit, bent bristles, or shedding.
- Rinse the brush if it touched interior cleaner or visible debris.
- Dry the head fully before storage so dirt does not clump in the base.
- Store tire brushes apart from trim brushes.
Brush these surfaces the safe way
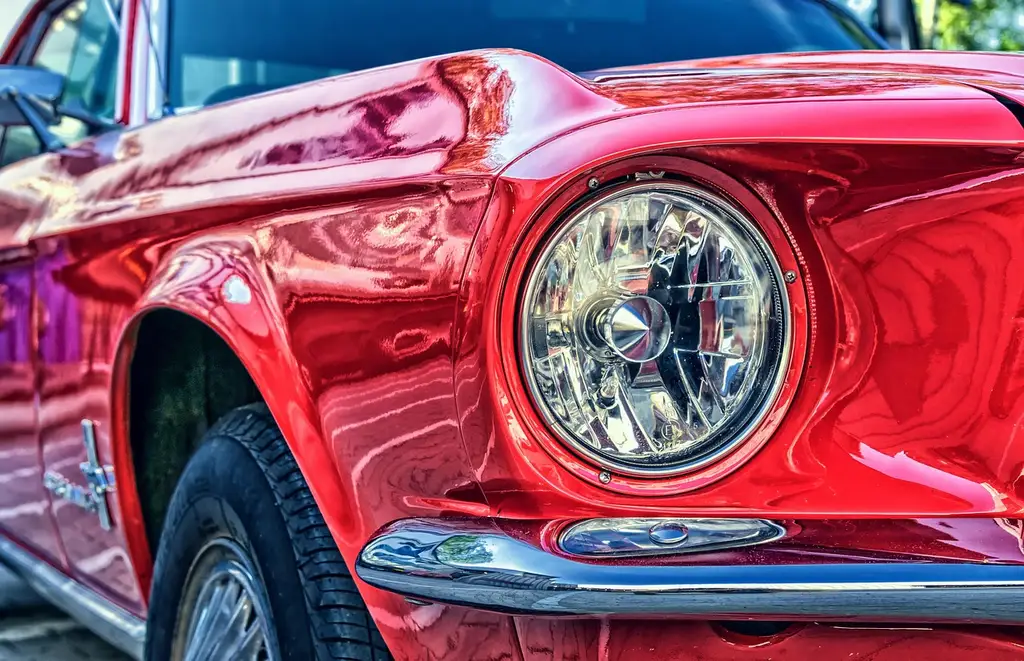
Different surfaces need different brush choices. Vents, seams, and emblems can often take a very soft brush. Piano black trim and screens need the lowest-risk approach. Tires are the opposite end of the scale and should stay on their own brush category. Treat each area as its own task.
Vents, buttons, and seams
An AC vent brush is long, pliable, and flat enough to fit inside vents. A toothbrush-style nylon brush is better for buttons, switches, and narrow seams. A detail brush with a rubber tip is useful for seams because the extra-soft bristles and rubber seam tip can reach edges without gouging them.
Piano black trim and glossy plastics
Yes, detailing brushes can scratch piano black trim if the brush carries grit or if the hand pressure is too high. Use an ultra-soft synthetic brush only on clean, dust-level contamination. If the trim is hazy, sticky, or already marked, stop brushing and switch to a clean microfiber cloth. Do not use a stiff brush here.
Leather, dashboards, and emblems
For leather seats and dashboards, a very soft brush or a microfiber cloth is the safer starting point. On emblems and textured dashboards, the surface texture matters more than the material label alone. On painted surfaces, boar’s hair brushes can also transfer natural oils or shed debris if they are not clean, so keep them for the right task and inspect them before use.
Tires and heavy grime
Keep a tire brush separate. Detail Factory’s ProGrip Tire Brush uses stiff synthetic bristles for tire scrubbing, and that stiffness is useful on rubber, not on trim. If a surface has bonded grime, greasy residue, or caked dirt, the brush choice may be wrong for that job. Use a dedicated cleaner first, then a microfiber towel, vacuum, or puffer instead of forcing the bristles harder.
| Surface | Brush | No brush | Safer alternative |
|---|---|---|---|
| Vents | AC vent brush or toothbrush-style nylon brush | When dust is packed with sticky residue | Puffer, vacuum, then microfiber wrapped around a slim tool |
| Piano black trim | Ultra-soft synthetic brush only for loose dust | When the surface is gritty or already hazed | Microfiber cloth and a gentle interior cleaner |
| Leather | Very soft brush for seams only | When grime is bonded or the leather is tacky | Microfiber cloth or foam applicator |
| Emblems | Ultra-soft or small paint brush style detailing brush | When the emblem edges hold sand or tar | Rinse, then microfiber and low-pressure wipe |
| Tires | Stiff tire brush | Never on interior trim | Dedicated tire cleaner and tire brush only |
When should you stop brushing and switch tools?
Stop brushing as soon as dust becomes bonded grime, the brush starts to drag, or the surface looks likely to mar. That is the point where more passes raise scratch risk. A microfiber cloth, vacuum, foam applicator, or puffer becomes the safer tool because it removes material without repeated bristle contact.
Loose dust versus embedded dirt
Loose dust lifts easily and stays on the brush. Embedded dirt does not. If the area leaves a gray smear, feels sticky, or sounds gritty, the brush is no longer helping. On vents and seams, use vacuum first. On piano black, wipe once with a clean microfiber instead of scrubbing twice with the same head.
Suppose an emblem has dry dust in the recesses. A soft brush can clear it. If the same emblem has tar or road film, the brush will skate over it or grind it into the edge. Switch to a cleaner and microfiber rather than forcing the bristles harder.
Common mistakes that scratch trim
The biggest mistakes are simple: using one brush for every surface, pushing harder when dirt resists, and skipping the contamination check. Worn brushes and shed bristles also cause damage because they carry grit into sensitive areas. If a brush has touched tires or wheel barrels, it should not go straight to dash trim.
- One brush for everything: keep tire tools separate from interior tools.
- Harder pressure: more force usually means more micromarring.
- Skipping inspection: trapped grit is a scratch source.
- Using worn heads: bent or shedding bristles are a sign to retire the brush.
- Ignoring the surface: glossy black, screens, and soft-touch trim need the least aggressive approach.
- Static attraction: some synthetic brushes can build static and pull dust back onto the surface mid-use, which can undo the cleaning work.
Frequently asked questions
How do you use detailing brushes without scratching paint or trim?
Start with a clean, soft brush, then use a shallow angle and very light pressure so the bristles sweep instead of scrub. Remove loose grit first with a vacuum or puffer. If the dirt is bonded, stop brushing and switch to microfiber or another tool before the surface is damaged.
Should you use a soft or stiff detailing brush on car surfaces?
Soft brushes are the default for trim, seams, dashboards, and emblems. Stiff brushes belong on tires and other tough surfaces that can tolerate aggressive scrubbing. A stiff brush on delicate interior parts is a poor match, even if the surface only looks dusty.
Can detailing brushes scratch piano black trim?
Piano black can show fine marks easily if the brush carries grit or the pressure is too high. Use an ultra-soft synthetic brush only for loose dust, and stop if the surface is sticky or already hazed. A clean microfiber cloth is often the safer fallback.
How do you clean dust from vents without damaging them?
Use an AC vent brush or a slim toothbrush-style nylon brush with a light touch. Keep the strokes short and follow the vent slats rather than forcing the bristles across them. If the dust is packed or oily, vacuum first and finish with a microfiber-wrapped tool.
Are boar’s hair brushes safer than synthetic detailing brushes?
Not automatically. Boar’s hair can be very soft, and synthetic bristles can also be very soft, so the safer choice depends on the surface and the task. For delicate trim, choose the brush that is clean, soft, and sized correctly for the gap, not the bristle label alone.