Hand Washing a Car Step by Step
Hand washing a car step by step means washing from cleanest to dirtiest: pre-rinse, clean wheels and tires first with separate tools, then wash paint top-down with the two-bucket method, rinse often, and dry immediately with microfiber. Done badly, trapped grit and hard-water minerals leave swirls, marring, and water spots. This guide covers the wash order, tool separation, and drying steps that reduce scratch risk at home.
What you’ll need
- Two buckets: one soap bucket and one rinse bucket.
- Two grit guards or dirt traps: one in each bucket, sitting at the bottom to help keep loosened grit below the mitt.
- Dedicated car wash soap: a pH-balanced or mild automotive formula. Consumer Reports says to use a dedicated car-wash product, not household cleaners.
- Microfiber wash mitt: preferred over a sponge because the split fibers pull dirt up into the pile instead of holding it flat against the paint. Rinse it often.
- Wheel cleaner: compatible with the wheel finish.
- Wheel brush and tire brush: wheel-only tools, never shared with paint.
- Separate wheel towels: for wheel faces, barrels, and tires only.
- Clean plush microfiber drying towels: used immediately after rinsing to prevent air-dry spotting.
- Water source: hose, pressure washer, or a no-pressure wash setup if running water is unavailable.
- Optional pre-wash help: foam gun, foam cannon, or pump sprayer for a pre-soak on heavy film, mud, or winter salt.
How do you wash a car by hand without scratching it?
Wash scratches usually come from abrasive particles being dragged across paint, not from soap alone. The safe method keeps the dirtiest tools away from the paint, rinses all surfaces before contact, uses straight-line passes instead of circles, and leaves the grimiest lower sections for last. The two-bucket method is the main safeguard against scratches.
What actually causes wash marring
Four things do most of the damage: trapped grit in the mitt, dirty rinse water, wheel dust crossing over onto paint, and washing on hot panels. Consumer Reports says to rinse all surfaces before washing, and it warns against using circles because they can create swirl marks. (Consumerreports)
Straight-line washing reduces visible swirl risk because any light marring tends to follow airflow and body lines instead of showing up as circular halos under sun or parking-lot lights.
The safe order
The order is fixed for a reason. Wheels and tires are typically cleaned first with separate tools. Then the whole car gets a full rinse before any paint contact. Start at the roof, then move to the glass, hood, trunk, upper doors and fenders, one panel at a time, with the lower rocker panels, bumpers, and rear lower section left for last.
The rear of many cars collects a heavy mix of road film, sand, and brake dust. If the mitt touches that area early, the contamination follows the mitt onto cleaner paint.
Why mitt handling matters
Load the mitt with soapy water, wash one small section, rinse the mitt in the rinse bucket, rub it lightly against the grit guard, then reload from the soap bucket. That cycle keeps abrasive particles out of the wash solution.
A microfiber wash mitt is the standard choice because the nap gives grit a place to move up into the fibers until you rinse it out. It also flushes cleaner than a dense sponge. A sponge can trap grit near the contact face and keep it there.
Where should you wash the car?
Wash the car under cover, beside a building, or early and late in the day when the panels feel cool to your hand. The same source says to avoid washing when the body is hot or in direct sun, and both Right Car Detailing and DetailXPerts note that direct sunlight makes soap and rinse water dry quickly, which raises streaking and spotting risk.
Shade, temperature, and panel heat
Direct sun cuts your working time. The Daily Automotive says above 90°F soap can dry before you finish, and it cites 32°F as too cold to wash because water can freeze on the car. Those are useful stop points: too hot brings residue and spots, too cold brings frozen seams, handles, and mirrors.
Hot paint is a contamination-control problem, not a comfort issue. Soap flashes off, minerals set faster, and a beginner often rubs harder during drying to chase spots that never needed to form.
Choose the setup by dirt level
Light dust or garage-kept car: a hose and two-bucket wash are enough if the paint does not feel gritty.
Normal road film: hose or pressure washer both work; choose the easier setup and focus on a thorough pre-rinse.
Heavy grime, sand, or muddy lower panels: add a foam pre-soak or pump-sprayer pre-soak before mitt contact.
Winter salt: use the strongest rinse access available, ideally a hose or pressure washer, because salt packs into seams, wheel wells, and rocker edges.
When a no-pressure wash works
A no-pressure setup can work on a lightly dusty car if the paint has little bonded grit and the wash media are kept very clean. It is the wrong choice for caked mud, winter salt, or gritty road film because there is no strong pre-rinse to remove loose abrasion before the mitt touches the panel.
Picture a compact sedan parked outside through a slushy week. The doors may look only gray, but the rocker panels can hold sand and salt paste. That calls for a pressure rinse first, not a bucket-only wash.
Wash sequence checklist
Main sequence
| Step | Purpose | Contamination risk prevented | Most common mistake to avoid |
|---|---|---|---|
| Park in shade and let panels cool | Keep soap and rinse water from drying too fast | Water spots and baked-on soap residue | Starting on hot hood or roof in direct sun |
| Set up two buckets with grit guards | Separate clean soap from dirty rinse water | Reintroducing grit to the paint | Using one bucket for everything |
| Separate wheel tools from paint tools | Isolate brake dust and road grit | Wheel contamination scratching paint | Using the same brush or towel on both areas |
| Clean wheels and tires first | Remove the dirtiest material before paint washing | Brake-dust splash landing on already washed paint | Washing paint first, then blasting dirty wheels |
| Rinse the whole car top-down | Knock off loose dirt before contact | Dragging loose grit with the mitt | Touching dry paint before a full rinse |
| Pre-soak heavy film, salt, or mud | Soften contamination before touching it | Grinding abrasive grime into clear coat | Skipping pre-soak on heavily soiled lower panels |
| Wash roof, glass, hood, and upper sides first | Start with cleaner panels | Moving lower-panel grit upward | Starting at rocker panels or rear bumper |
| Use straight-line passes, one panel at a time | Control contact and see where the mitt has been | Swirl-prone scrubbing patterns | Washing in circles |
| Rinse mitt in rinse bucket, then reload in soap bucket | Dump contamination before the next section | Dirty mitt recirculating grit | Dipping a dirty mitt straight back into soap |
| Leave rocker panels, bumpers, and rear lower area for last | Quarantine the heaviest grime | Sand and road film spreading to cleaner paint | Using the same wash face from bottom to top |
| Final-rinse the whole car | Remove soap and loose residue before drying | Residue streaks and drag during drying | Drying over leftover soap film |
| Dry immediately with clean microfiber towels | Remove minerals before they spot | Water spotting and towel-induced marring | Letting the car air-dry |
Failure-case actions
| If this happens | Do this |
|---|---|
| Dropped mitt | Stop using it on paint immediately. Rinse it thoroughly if possible, but the safer move is to switch to a fresh mitt. |
| Soap dries on paint | Re-rinse that panel at once, cool it if needed, then rewash the section in shade. Do not scrub the dried edge with a dry towel. |
| Dirty wheels splash back onto clean panels | Rinse the affected paint again before resuming. If the splash leaves visible grime, rewash that section with a clean mitt face. |
| Spots form from delayed drying | Re-wet the spotted panel, then dry it immediately with a clean plush microfiber towel. If spots remain, stop washing and address them later with a water-spot-safe product. |
How do you properly wash a car in the right order?
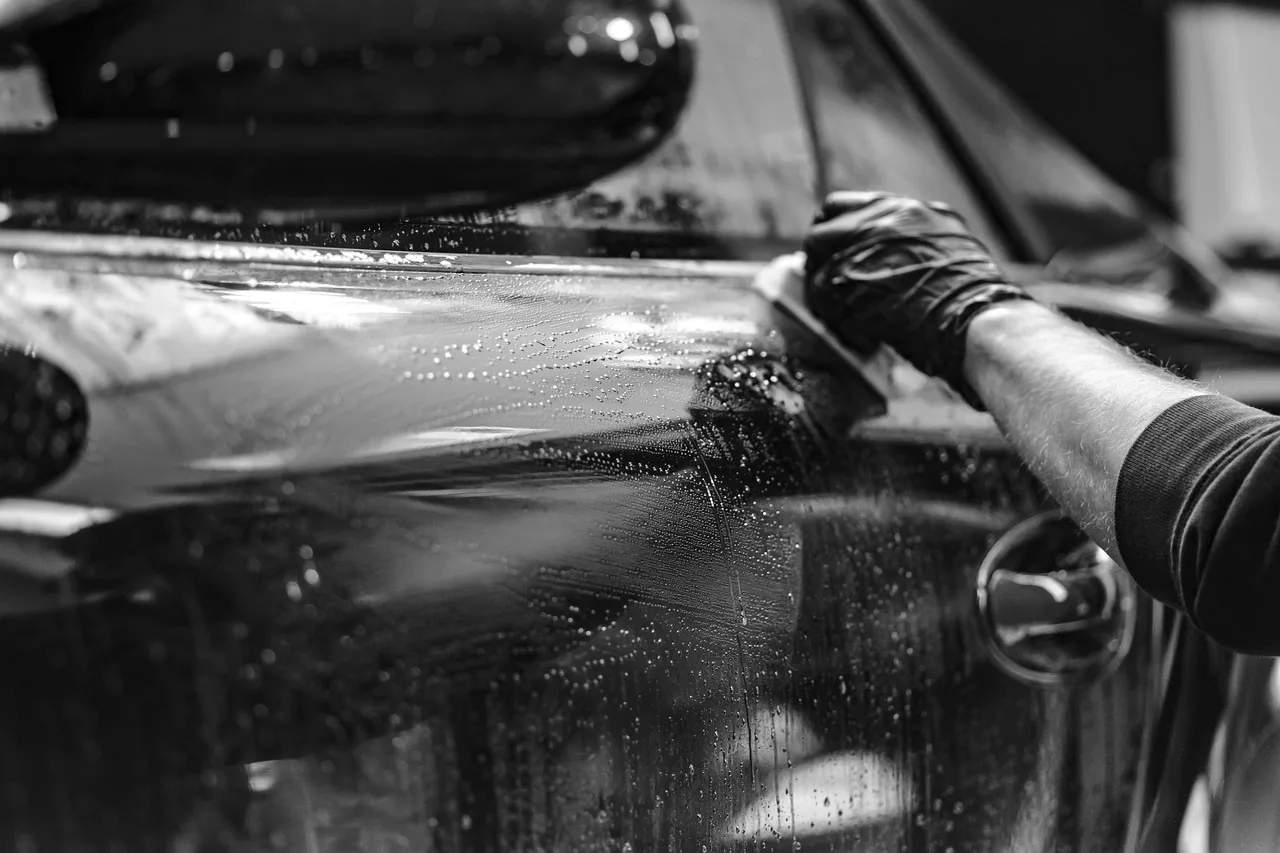
Use a fixed contamination-control sequence: cool shaded setup, wheel cleaning first, full body rinse, pre-soak if needed, top-down panel washing with the two-bucket method, lower sections last, final rinse, then immediate microfiber drying. The order matters because each step removes or isolates dirt before it can be dragged across paint.
Step-by-step wash process
- Park in shade and let hot panels cool before water or soap touches the paint.
- Set up two buckets with one grit guard or dirt trap in each, then fill one as the soap bucket and the other as the rinse bucket.
- Lay out separate wheel tools so wheel cleaner, wheel brushes, and wheel towels never mix with paint-contact tools.
- Clean the wheels and tires first, then rinse away brake dust and cleaner completely before moving to the body.
- Rinse the whole car from top down before any mitt touches the paint. Consumer Reports says to rinse all surfaces before washing.
- Pre-soak or foam the paint if the car has heavy road film, winter salt, or visible grit on lower panels.
- Load the microfiber mitt from the soap bucket and wash one small panel in straight-line passes, never circles.
- Rinse the mitt in the rinse bucket, work it against the grit guard, then reload from the soap bucket before the next panel.
- Wash from the roof downward. The Daily Automotive says to wash from the roof down with a mitt and two buckets.
- Leave rocker panels, lower bumpers, and the rear lower area for last because they carry the most abrasive grime.
- Final-rinse the entire car before soap or minerals have time to dry on the surface.
- Dry immediately with clean plush microfiber drying towels using blotting or low-pressure straight pulls.
Drying methods ranked by beginner risk
Lowest risk for most people: clean plush microfiber drying towels used right away after rinsing. Lay the towel flat, blot broad horizontal surfaces if needed, then use light straight pulls.
Moderate risk: a drying aid plus microfiber towel. This can reduce towel drag, but only if the product is compatible with the finish and the towel stays clean.
Higher risk for beginners: forced-air-only drying. It avoids contact, but leftover beads often run from mirrors, trim, and badges later and can spot if they are not chased down.
Highest risk: air-drying with no towel. That leaves mineral residue behind almost by definition.
Say your roof is still wet while the lower doors are already drying in warm shade. Dry the roof first, then swap to a second clean towel if the first one becomes too damp to pick up water cleanly. Add 1 fresh drying towel at a time, then recheck whether the towel is still gliding instead of dragging.
What if the car is heavily contaminated?
Heavily contaminated cars need more dirt removal before the mitt touches paint. Add a longer pre-rinse, use a pre-soak on lower panels and the rear, and be ready for a second wash pass after the first rinse. Scrubbing harder is the wrong adjustment because it increases marring risk.
Winter salt, mud, and gritty road film
Start with a deliberate rinse focused on wheel wells, rocker panels, lower doors, and the rear bumper. Winter salt often hides in seams and textured trim. A foam or pump-sprayer pre-soak helps soften the crust so the rinse can carry more of it away before contact washing starts.
If the rinse water still leaves visible grit lines or rough-looking lower panels, do not jump straight to pressure with the mitt. Re-rinse and re-soak first.
Bug residue, bird droppings, and sap
These are localized contamination problems. Soften them first with wash solution or a dedicated remover approved for the finish, then lift them away during the wash. Do not spot-scrub a dry bug mark with fingernails, a brush, or the corner of a towel.
When to do a second wash pass
Do a second pass if the car looked gritty at the start and the first pass mostly removed bulk soil. Re-rinse the vehicle first, refresh the rinse bucket if it is visibly dirty, then wash again. If the paint still feels rough after washing, stop there and decontaminate later with a separate clay or chemical process instead of forcing the issue during a routine wash.
How should you adjust for black paint, matte paint, or coatings?
Yes, the process changes slightly by finish. Black paint shows even faint towel marks more readily, matte paint cannot be polished to hide mistakes, and coated cars still need the same clean-to-dirty wash order even though contamination usually releases more easily. The basic sequence stays the same. The tolerance for sloppy contact does not.
Black or very dark paint
Black paint magnifies wipe marks and drying trails. Use extra-clean towels, lighter pressure, and shorter working sections so soap does not start to dry. Straight-line washing and straight-line drying matter more here because circular marks are easier to spot under strong light.
Matte and satin finishes
Avoid anything that adds gloss or relies on polishing action. That includes aggressive rubbing to chase one stubborn spot during drying. Matte paint should still be rinsed, washed top-down, and dried quickly, but the touch has to stay lighter and more controlled because a shiny rubbed patch is harder to correct than a standard clear-coat spot.
Coated cars
Right Car Detailing says hand washing helps preserve wax, sealants, and ceramic coatings. Use a coating-safe or mild soap, skip household cleaners, and keep the same contamination-control order. The main difference is practical: a coating often releases grime faster, so pre-rinse and drying get easier, but dirty tools can still mar coated paint.
Common mistakes that cause scratches or spots
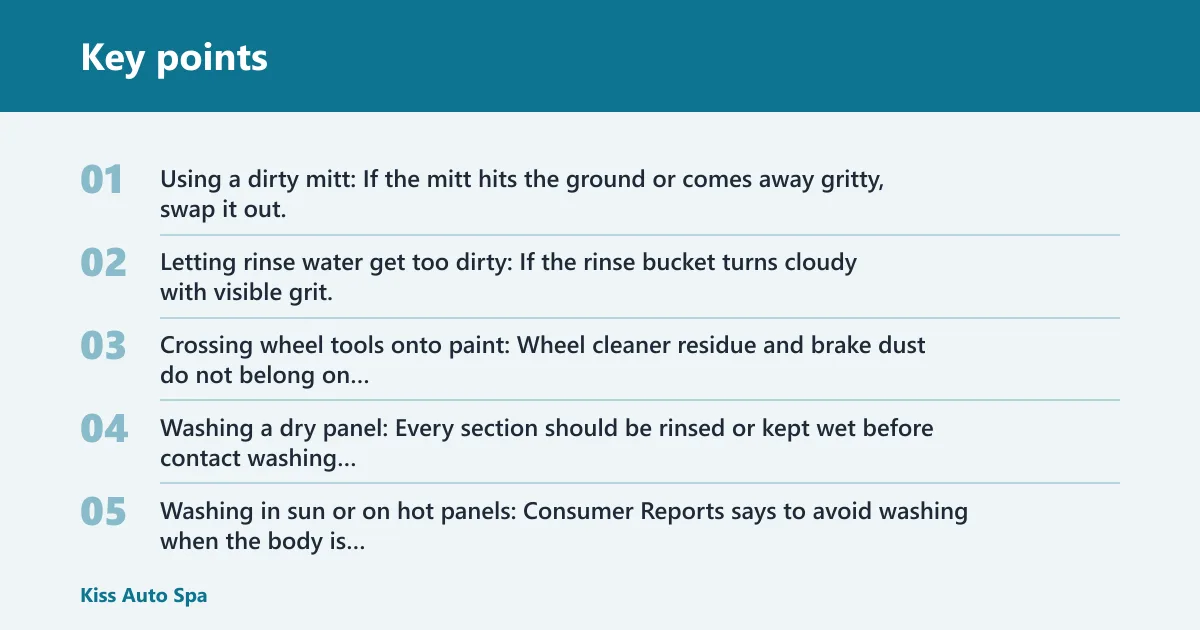
Highest-risk mistakes first
Using a dirty mitt: If the mitt hits the ground or comes away gritty, swap it out.
Letting rinse water get too dirty: If the rinse bucket turns cloudy with visible grit, empty it and refill rather than pushing on.
Crossing wheel tools onto paint: Wheel cleaner residue and brake dust do not belong on paint towels, paint mitts, or paint buckets.
Washing a dry panel: Every section should be rinsed or kept wet before contact washing starts.
Soap and water-spot mistakes
Washing in sun or on hot panels: Consumer Reports says to avoid washing when the body is hot or in direct sun, and Right Car Detailing advises washing in shade because direct sunlight dries soap and water quickly.
Letting soap dry while you move around the car: Work panel by panel, not whole-side by whole-side if conditions are warm.
Delaying drying: Clean plush microfiber drying towels should be used immediately after rinsing. Air-drying invites mineral spotting.
Drying mistakes
Using old bath towels: They are not designed to trap residual particles safely and can drag on paint.
Pressing too hard: If a towel needs force to move, it is either too wet, too dirty, or the panel still has residue. Fix the cause instead of adding pressure.
Dragging trapped grit during drying: Drying is still paint contact. If you see grime streaking under the towel, stop and re-rinse that panel.
A common first-timer mistake is washing the rear hatch early because it looks easy to reach. On a hatchback after rain, that panel often carries some of the dirtiest film on the car. Save it for late in the wash and use a freshly rinsed mitt face.
If that didn’t work
If the paint still looks streaky or the towel keeps grabbing, move up the ladder in order: re-rinse the panel, switch to a fresh drying towel, refresh the rinse bucket, then rewash that section with clean soap. If the surface still feels gritty after that, stop and plan a separate decontamination step later.
Prevention
Keep wheel tools, paint tools, and drying towels physically separated between washes. Even a simple labeled bin for each group cuts the most common crossover mistake before the wash starts.
How long does hand washing take, and when should you stop?
A careful maintenance wash usually takes less time than a heavily soiled cleanup because contamination control slows the dirtiest jobs. Carqly recommends washing and drying in 30–45 minutes. Expect the short end for a lightly dusty car and longer if the vehicle needs a pre-soak, wheel detail work, or extra drying towel changes.
When to pause or restart a section
Stop and reset if soap begins drying on the surface, a panel turns hot to the touch, the mitt picks up visible grit, or the drying towel becomes saturated and starts smearing. Those are not minor delays. They are signs that the process has shifted from safe cleaning to avoidable marring risk.
Suppose the hood is half washed and the sun reaches it unexpectedly from the driveway edge. Rinse that panel immediately, move the car or wait for cooler conditions, then restart only that section. Pushing through is usually what creates streaks and pressure marks.
Frequently asked questions
How do you wash a car properly by hand?
Clean the wheels first with separate tools, rinse the whole car, then wash the paint from the roof down using one soap bucket and one rinse bucket with grit guards. Rinse the mitt often, leave the lower dirty areas for last, and dry right away with clean microfiber towels.
Should you wash the wheels first when hand washing a car?
Yes. Wheels and tires are usually the dirtiest part of the vehicle, and Aautomotives says to clean them first. That keeps brake dust, road grit, and wheel-cleaner splash from landing on already washed paint and forcing a rewash of nearby panels.
Do you wash a car in direct sunlight or shade?
Shade is the safer choice. The same source says to avoid direct sun and hot body panels, and DetailXPerts notes that direct sunlight causes spots and streaks. Even if the wash can be finished quickly, hot paint shortens working time and raises the odds of dried soap residue.
How do you dry a car after hand washing?
Dry it immediately after the final rinse with clean plush microfiber drying towels. For beginners, blotting or light straight-line pulls are safer than hard wiping because they reduce the chance of dragging leftover grit. Do not let the car air-dry if spotting matters.
Can I use dish soap to wash my car?
No for routine paint washing. The same source says to use a dedicated car-wash product, not household cleaners. A mild or pH-balanced automotive soap gives lubrication for the mitt and is a better fit for waxes, sealants, and coatings than dish soap or household degreasers.
What is the two-bucket method for car washing?
It uses one bucket filled with soap solution and a second bucket filled with plain rinse water. Each should have a grit guard or dirt trap at the bottom. After each panel, rinse the mitt in the rinse bucket first, then reload it from the soap bucket.