How to Apply Paint Sealant by Hand Step by Step
Apply paint sealant by hand in about two thin passes, using a foam applicator and waiting for the product’s stated flash time before clean removal. Apply too much or wait too long, and you get smeary residue, high spots, and wasted product. This guide covers prep, panel-by-panel application, thin-film control, and a clean wipe-off workflow for daily-driver paint.
What you need before starting
Choose a sealant that matches how you work. Liquid sealants usually spread easiest by hand, spray sealants suit quick maintenance coverage, and paste sealants give the most control on small areas but need more patience to spread evenly.
Use a clean foam applicator pad with a soft, low-nap face and lint-free microfiber towels with a soft edge. Work in shade on paint that feels cool to the touch, with the panel dry and free of loose dust. If the car needs correction, polish first; do not try to polish after the sealant goes on.
- Paint sealant in liquid, spray, or paste form
- Clean foam applicator pad
- Two to four clean microfiber towels
- Car wash soap and wash mitt
- Drying towel or blower
- Clay bar or paint decontamination product, if needed
- Polish, if the paint needs correction before sealing
- Fresh water and a clean bucket setup for prep
Paint sealant checklist
| Step | Goal | What success looks like | Common mistake |
|---|---|---|---|
| Wash and dry the paint | Start with a clean surface | No road film, water spots, or visible dust | Sealing over dirt or trapped grit |
| Remove bonded contamination | Improve bonding | Paint feels smooth after decontamination | Skipping clay or decon on rough paint |
| Decide on polishing | Correct defects before sealing | Swirls and haze are reduced before application | Trying to fix paint after sealant is on |
| Prime the applicator lightly | Prevent dry drag | Pad is damp, not saturated | Loading the pad until it smears |
| Apply one panel at a time | Control coverage | Thin, even film with overlapping passes | Covering half the car before checking flash |
| Level after flash | Remove residue cleanly | Surface looks even, with no streaks or high spots | Buffing too early or leaving it too long |
How do you prep the paint first?
Wash, decontaminate, and dry the paint fully before sealant goes on. If the finish still carries wax, oils, or embedded grit, the sealant sits on top of contamination instead of bonding to the clear coat. Polishing is optional on well-kept paint, but defects should be corrected before sealing.
- Wash the car with a proper car shampoo and rinse fully.
- Dry every panel, door edge, badge, and mirror base until no moisture remains.
- Use a clay bar or other decontamination step if the paint feels rough.
- Remove old wax or oily residue with a paint prep wipe if the product calls for it.
- Polish only if the paint has swirls, haze, oxidation, or other visible defects.
Suppose a white daily driver feels smooth on the hood but rough on the lower doors. That usually means the lower panels need decontamination before sealant, while the hood may only need a clean prep wipe. One variable changed, one result improved.
How do you apply paint sealant by hand?
Work one panel at a time and keep the layer thin. A foam applicator pad should glide, not drag, and the sealant should look like a faint film rather than a wet, greasy coat. Overlapping passes help cover the full panel without leaving heavy edges.
- Prime the foam applicator with one light product line or a few drops.
- Spread sealant on a single panel using straight, overlapping passes.
- Keep pressure light so the film stays thin and even.
- Move across the panel edges, then address door handles, mirror bases, and trim seams with the remaining product on the pad.
- Add only 2 to 3 more drops per large panel if the pad begins to feel dry, then recheck the spread.
- Finish the panel before moving on to the next one.
A common first-timer mistake is loading the pad for an entire hood and then chasing streaks after the coat gets too heavy. Picture a compact sedan’s hood: a thin pass should leave just enough product to see coverage in reflected light, not a white film sitting on the surface.
How do you know when to wipe it off?
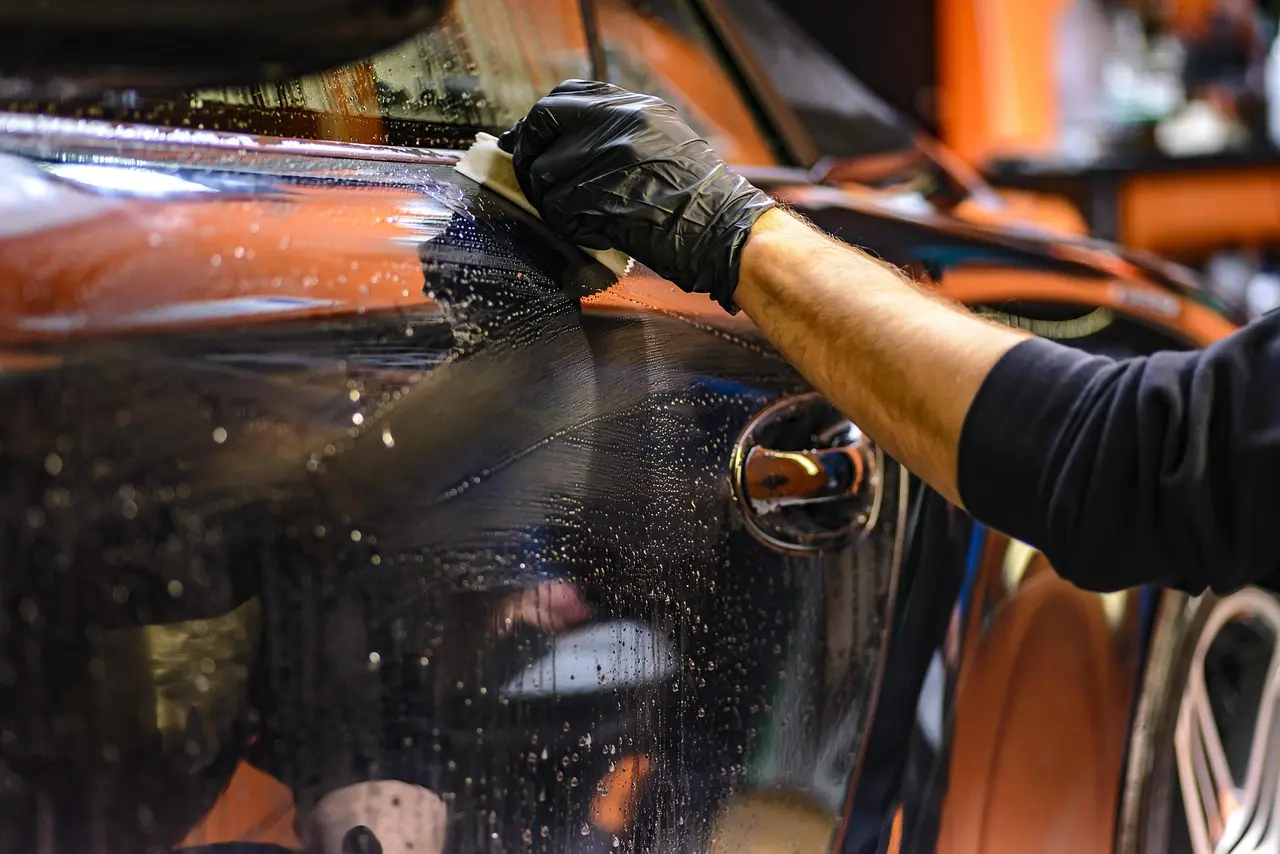
Most sealants need a short flash time before removal, and that timing varies by product, temperature, and humidity. Watch the panel, not the clock alone. When the film begins to haze, lose its wet look, or wipe clean in a small test area, it is usually ready.
Test a 2-inch square first. If the towel pulls cleanly with little drag, continue. If it smears, let it sit a little longer. If it turns grabby or leaves shadowy trails, you may be past the ideal window and need a second towel or a quicker leveling pass.
How do you apply sealant properly without streaks or haze?
Use a lighter coat, a cooler panel, and a clean towel. Streaks usually come from too much product or removal before the flash stage, while haze often means residue was left behind in the film or in body lines. Work in sections and level the panel before the product fully hardens.
How do you know if sealant has flashed and is ready to remove?
Look for a shift from wet gloss to a soft haze, then lightly touch a small test spot with a microfiber towel. If it wipes away cleanly without smearing, the panel is ready. If the film still looks oily or strings under the towel, give it a few more minutes.
Common mistakes
The biggest problems are overapplication, missed edges, and buffing at the wrong time. Tight trim areas, mirror bases, fuel doors, and door-handle pockets hold extra product easily, so those spots need a lighter touch and a second look before removal.
- Overapplying product: Use less on the next panel and rework the same area with the dry side of the applicator if needed.
- Missing panel edges: Run the pad along edges, badges, and seams with the leftover product, not a fresh heavy load.
- Buffing too early: Wait for flash; if the towel smears, stop and give the film more time.
- Buffing too late: If residue has bonded harder, level it with a fresh microfiber towel and a lighter finishing pass.
- Leaving residue in seams: Wrap a towel over a fingertip or use a clean corner to trace trim gaps after the main wipe.
| Problem | Likely cause | Best first fix | If that didn’t work |
|---|---|---|---|
| Streaks | Too much product or removal too early | Wait a few more minutes and re-wipe with a clean microfiber towel | Apply a lighter second leveling pass, then buff again |
| High spots | Heavy overlap or product pooled at edges | Level immediately with a dry towel while the spot is still soft | Use a slightly damp towel with fresh product only if the label allows it |
| Premature wipe-off | Buffed before flash | Let the panel sit longer and retest a 2-inch area | Reapply a thin pass only if the surface was fully stripped by the towel |
Can you layer paint sealant?
Yes, but only if the first coat has cured long enough for the label to allow a second application. Layering can help even out coverage on tricky panels, but it does not fix a poor first coat. Let the first layer finish its stated cure window before adding another.
How long to keep the car dry also depends on the product label and conditions. Many sealants need only a short initial flash before wipe-off, but full cure can take longer, so avoid rain or washing until the maker’s stated dry time has passed.
How much paint sealant should you use per panel?
Use only enough to create a thin, uniform film. On a typical door or fender, that often means a few pea-sized drops for liquid product or a light prime on the pad, then one or two more small additions if the applicator starts to drag. If the panel looks wet, you used too much.
Can you apply paint sealant in direct sunlight?
No. Hot panels shorten working time and make flash uneven, which raises the risk of streaks and high spots. Shade is the safer choice, and the paint should feel cool before you start. If the panel is hot to the touch, wait until it cools.
Frequently asked questions
How do you apply paint sealant by hand step by step?
Wash, dry, and decontaminate the paint first. Then apply a thin coat to one panel with a foam applicator, wait for the product’s flash time, and buff with a clean microfiber towel. If the panel still streaks, give it a little more time before the second wipe.
Do you need to polish before applying paint sealant?
Only if the paint needs correction. Polishing removes defects and leaves a cleaner surface for bonding, but a well-kept daily driver can often go straight from wash and decontamination to sealant. Do the polishing step before sealing, never after.
What is the best applicator pad for applying paint sealant by hand?
A clean foam applicator pad with a soft, low-nap face is the most forgiving choice for hand use. It spreads product thinly and helps you spot overapplication early. Keep the pad lint-free and reserve a separate one for darker trim if needed.
Do you need to buff paint sealant off right away or let it dry?
Let it flash according to the label, then remove it. Wiping immediately usually smears the film, while waiting too long can make residue harder to level. The right moment is when a test spot wipes clean without dragging.
How long should paint sealant cure before getting wet?
Follow the product label, because cure time varies by formula and weather. A common setup is short flash time for removal, then a longer no-water window for full cure. If rain is likely, keep the car dry as long as the label allows.
Can you layer paint sealant, and does it help?
Yes, if the first coat has cured enough for a second pass. Layering can improve coverage on large panels or missed edges, but it does not make up for a thick first coat. Wait for the stated cure time between coats.