How to Apply Ceramic Spray on a Car Step by Step
Clean the paint, work one panel at a time, spray 1 to 3 light passes onto a towel or applicator, then buff immediately with a second microfiber towel; if the panel is hot, damp, or dusty, use a smaller section and more frequent towel flips. Skip that order and you get streaks, grabby residue, and uneven water beading. This guide shows the exact ceramic spray steps for dry, wet, hot, and lightly contaminated paint.
What you’ll need
- pH-neutral car shampoo for the wash stage
- Two buckets for the two-bucket wash method
- Microfiber wash mitts and microfiber drying towels only
- Pressure washer set to 1,200 to 1,500 PSI, if available
- Microfiber drying towels at 400 GSM or higher
- Clay bar or clay mitt for bonded contamination
- Optional paint correction tools if swirls or scratches need removal
- Isopropyl alcohol wipe-down mix and clean spray bottle
- Microfiber applicator pad, soft and low-lint
- Microfiber buffing towel, clean and plush, with several spares
- Ceramic spray coating product and its label directions
How do you prep the paint?
Wash the car, decontaminate rough paint, correct defects only if needed, then finish with an isopropyl alcohol wipe-down. Ceramic spray bonds best to clean, bare paint. Leave oils, dirt, or old residue on the surface, and you can end up with streaks and weaker durability.
Wash with pH-neutral shampoo
Use a pH-neutral car shampoo and the two-bucket method. Bryan Car Care recommends hand washing every 1 to 2 weeks, using microfiber mitts and drying towels only, with a pressure washer at 1,200 to 1,500 PSI and a pre-soak dwell time of no more than three minutes. Dry the car fully before the next step unless the product label allows wet-panel use.
Decontaminate with clay bar or clay mitt
Use clay when the paint still feels gritty after washing. A clay bar or clay mitt removes bonded contamination that washing leaves behind. Use it before the wipe-down, especially on horizontal panels that catch fallout. If the paint feels smooth already, skip this step.
Correct defects if needed
Paint correction is optional, but it is the right time to remove swirls, light scratches, and oxidation. Ceramic spray will not hide defects well. If gloss matters, correct first, then clean the surface again so polishing oils do not interfere with bonding.
Wipe down with isopropyl alcohol
Finish with an isopropyl alcohol wipe-down to remove polishing oils and leftover residue. Use a clean microfiber towel and work panel by panel. This leaves the paint ready for the coating to bond instead of sitting on top of hidden film.
How do you apply ceramic spray on a car step by step?
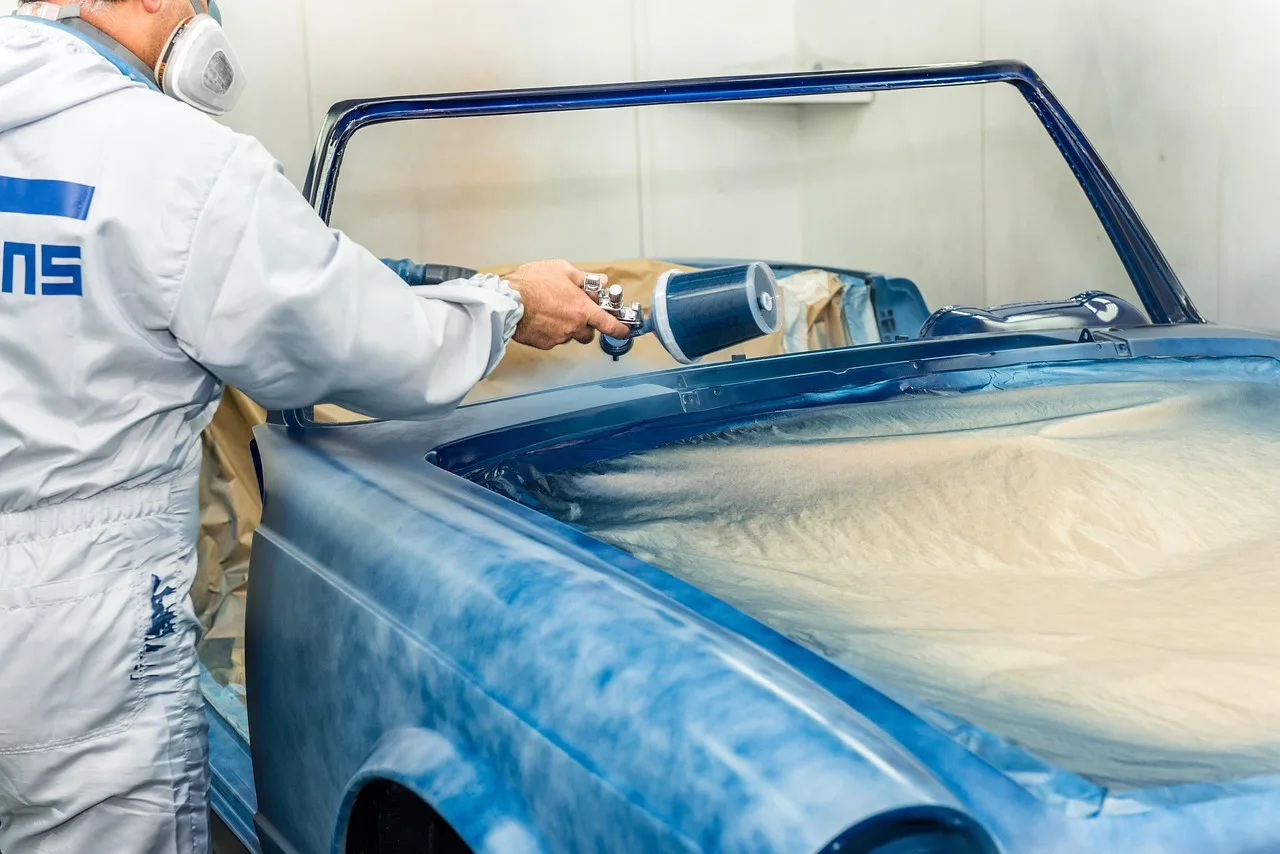
Work one small panel or half-panel at a time, apply only light product passes, and level the coating before it flashes too far. The goal is a thin, even film, not a glossy wet layer. Streaks and high spots are commonly reported when the product is over-applied or left too long before buffing.
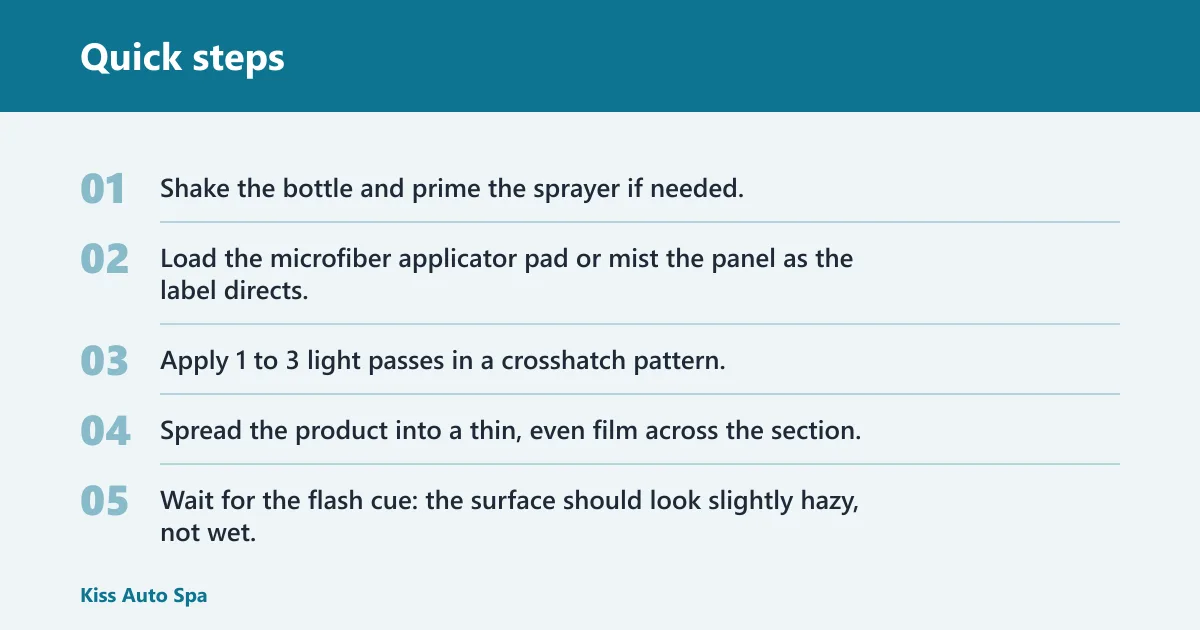
- Shake the bottle and prime the sprayer if needed.
- Load the microfiber applicator pad or mist the panel as the label directs.
- Apply 1 to 3 light passes in a crosshatch pattern.
- Spread the product into a thin, even film across the section.
- Wait for the flash cue: the surface should look slightly hazy, not wet.
- Buff immediately with a clean microfiber buffing towel.
- Flip to a dry side, then do a final leveling pass.
- Inspect under strong light and rework any high spots right away.
For a hood, divide the panel into halves or quarters instead of coating the whole thing at once. On a warm day, that smaller section keeps the flash under control. A common first-timer mistake is trying to coat a full door in one pass; the residue can set unevenly, and the towel may start dragging.
Watch the flash time, not only the clock
Flash time is the short window before buffing when the solvents start to evaporate and the film turns from wet to hazy. Manufacturer instructions control the timing, and temperature, humidity, and airflow change the window. Hot panels usually flash faster. Cold or humid conditions can slow it down.
Say your black hood sits in shade but the panel still feels warm to the touch. Shorten the section size, apply less product, and inspect after a few seconds instead of waiting a full minute. If the towel drags, the coating has likely sat too long.
Can you apply ceramic spray to a wet car?
Yes, if the product label allows it, but wet-panel use and dry-panel application serve different goals. Wet-panel use works more like a drying aid or quick protection layer. Dry-panel application usually gives the strongest bond and the most controlled finish. If the car is dusty, muddy, or contaminated, skip wet application and wash first.
Wet-panel application as a drying aid
On a freshly washed but still damp vehicle, some spray coatings can be used panel by panel while drying. The product is spread onto the wet surface and then leveled as water is removed. This method is fast, but it can mute bonding if too much moisture remains.
Dry-panel application for maximum bonding
Dry paint is the safer choice when durability matters most. It gives you clearer visual control, better product leveling, and less chance of smearing trapped water. Use this method after full drying and after the wipe-down.
When to skip wet application
Skip the wet method if the car is dusty, the paint has heavy road film, or the label does not allow wet use. Also avoid it when humidity is high enough to slow drying, because the film may haze unevenly. In those conditions, dry the car fully and apply in smaller sections.
| Use case | Best choice | What to watch for |
|---|---|---|
| Freshly washed, clean paint | Dry-panel application | Thin film, even haze, easy leveling |
| Freshly washed and lightly damp | Wet-panel application if label allows | No pooling or streak lines |
| Hot panels | Dry-panel application in smaller sections | Faster flash, tighter towel work |
| Dusty or contaminated paint | Wash and dry first | Avoid trapping grit under the coating |
Ceramic spray troubleshooting table
These are the most common spray-specific failures, what they look like, and the fix. Start with the visible symptom, then move to the likely cause. If the first fix does not clear the problem, reduce product load and work smaller sections next.
| Mistake | Visible symptom | Likely cause | Exact fix |
|---|---|---|---|
| Streaks and smears | Smudgy lines after buffing | Too much product or delayed leveling | Flip to a dry towel side and rebuff immediately; on the next section, cut the spray by half. |
| High spots after buffing | Bright, oily patches under light | Uneven spreading | Lightly mist the spot with the same product, then level with a clean microfiber towel right away. |
| Too much product | Heavy haze that will not clear | Overloaded applicator or too many passes | Switch towels, buff the area again, and apply only 1 to 3 light passes on the next panel. |
| Hazy finish | Cloudy look after cure | Residue was left to sit too long | Relevel the panel with a plush microfiber towel; if needed, clean the surface and reapply on a smaller section. |
| Poor water beading | Water sheets instead of beads | Dirty paint, weak prep, or too little cure time | Confirm the surface was decontaminated and allowed to cure for the full label time before judging performance. |
| Uneven coverage | One side looks darker or glossier | Skipped overlap or irregular spray pattern | Reapply in a crosshatch pattern and keep the section size consistent. |
| Towel drag or grab | Buffer feels sticky | Towel is saturated or the coating flashed too long | Switch to a fresh towel and work a smaller section with faster leveling. |
| Flash time changing with weather | One panel hazes fast, another stays wet | Heat, humidity, or cold air | Adjust section size and towel count; on hot panels, reduce dwell time, and on humid panels, expect slower flash. |
Common mistakes
Most spray failures come from process, not product. Keep the section small, keep the towels clean, and stop chasing gloss with extra spray. If a panel already looks even, leave it alone.
Using a dirty or saturated towel
A microfiber buffing towel should be clean and plush. Once it starts loading up with residue, it can smear instead of level. Swap towels often, and set aside a second towel for the final pass. That simple change removes most streaking.
Skipping prep on contaminated paint
If the paint still holds iron fallout, polishing oils, or road film, the coating may grab unevenly. Wash, decontaminate, and wipe down before the spray touches the surface. That order matters more than the brand on the bottle.
Working too large of an area
Big sections make flash control harder. A mirror cap, half a hood, or one door section is more manageable than a full side of the car. For difficult conditions, shrink the section again.
Letting residue sit too long
Residue that flashes too far can bond into a stubborn haze. If the towel starts to drag, stop and change towels immediately. If that did not work, lightly reapply to the problem spot and level it right away.
Suppose a sedan roof is parked in a cool garage, but the rear half was already sprayed while the front half sat for an extra minute. The first half buffs cleanly, while the second leaves a cloudy patch. That is a timing problem, not a product failure, and the fix is to split the roof into smaller sections next time.
Prevention: keep one towel for leveling and another for the final wipe, then swap both the moment either one starts to grab.
How long should ceramic spray flash before buffing?
There is no single universal flash time. Manufacturer instructions control timing, and the correct cue is visual: the product should shift from a wet sheen to a light haze. Hot panels shorten that window, while humidity and cooler air can lengthen it. Buff before it dries hard.
If the towel glides smoothly, the timing is close. If it sticks, you waited too long. On a warm panel, check sooner and work smaller sections. On a cold day, watch for slower haze formation and avoid piling on extra product while waiting.
How long does ceramic spray need to cure?
Many products call for a cure period of about 24 to 48 hours, though the bottle usually gives the final timing. During cure, do not wash the car or let water sit on the paint. Keep the car dry as long as the label says, then resume normal maintenance after the cure window ends.
Durability depends on the product and the prep quality. Better cleaning, better decontamination, and better leveling usually support better results. Poor prep can shorten protection even when the coating itself is good.
Frequently asked questions
Do I need to clay bar before applying ceramic spray?
Only if the paint still feels rough after washing or shows bonded contamination. A clay bar or clay mitt removes surface grit that washing leaves behind. If the paint already feels smooth and the finish is clean, skip this step.
How often should I reapply ceramic spray?
Reapply based on the product label and the coating’s observed behavior, not on a universal schedule. If water beading weakens or the surface loses slickness earlier than expected, inspect the prep and the wash routine first. A gentle wash every 1 to 2 weeks helps protection last longer.